
I remember staring at my guest bedroom last December. The bed was made, but it felt flat. Holiday decorations sat in a box, too much or too little. Guests were coming, and the room looked like it was waiting for something.
I wanted it warm and inviting, not cluttered. No fake cheer. Just enough to make it comfortable for visitors.
That's when I figured out a simple way to layer it right.
How To Style Guest Bedroom Holiday Decor Beautifully
This shows you how to add holiday touches to your guest bedroom so it feels balanced and lived-in. You'll end up with a space that's cozy for guests without overwhelming the room. It's straightforward—I do it every season.
What You’ll Need
- 12-foot faux pine garland with berries
- Warm white fairy string lights, 33 feet
- Velvet holiday throw pillows in red and green, 20-inch
- Plush knit throw blanket, cream with subtle evergreen
- Battery-operated LED pillar candles, set of 3, ivory
- Mini artificial Christmas tree, 3-foot flocked
- Wooden ornament tray, 12×8-inch rustic
- Scented holiday candle, pine, in glass jar
Step 1: Layer the Bed for Base Comfort
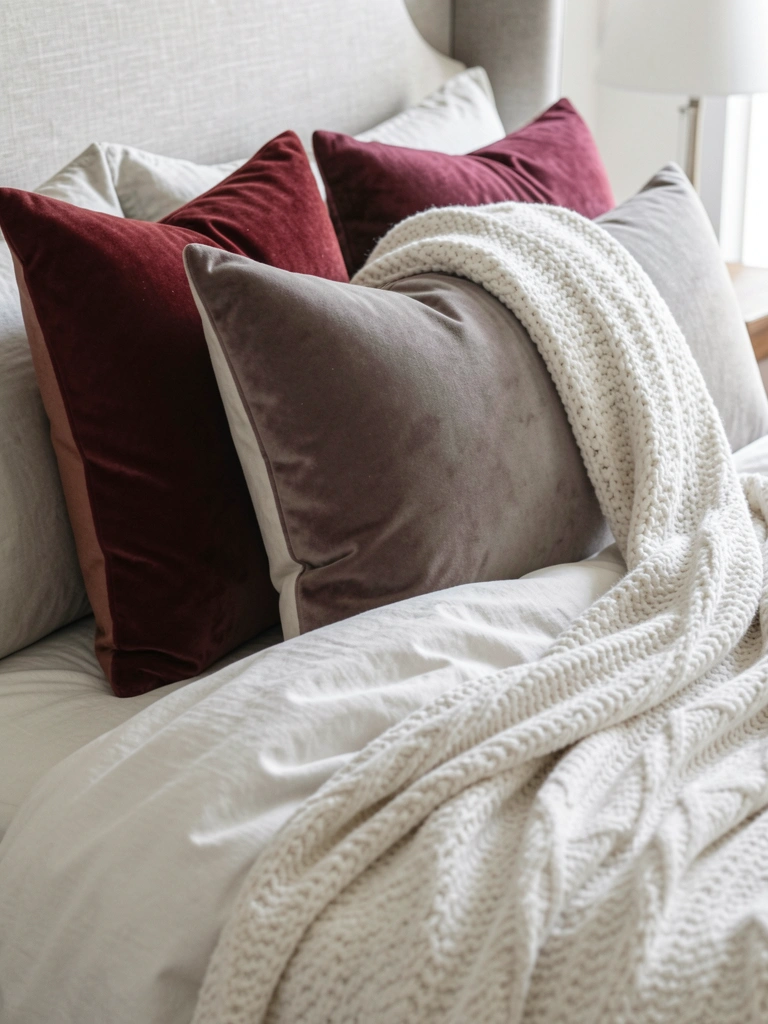
I start with the bed. It pulls the room together. Add two velvet holiday pillows at the headboard, one red, one green. Lean them against the existing pillows.
Drape the knit throw across the foot. Let it hang uneven—that adds warmth. Now the bed looks ready for guests. It feels balanced, not stiff.
People miss how pillows set the mood first. Skip the bed, and decor elsewhere looks random. Don't stack pillows too high; it crowds the space.
Step 2: Drape Garland Along the Walls
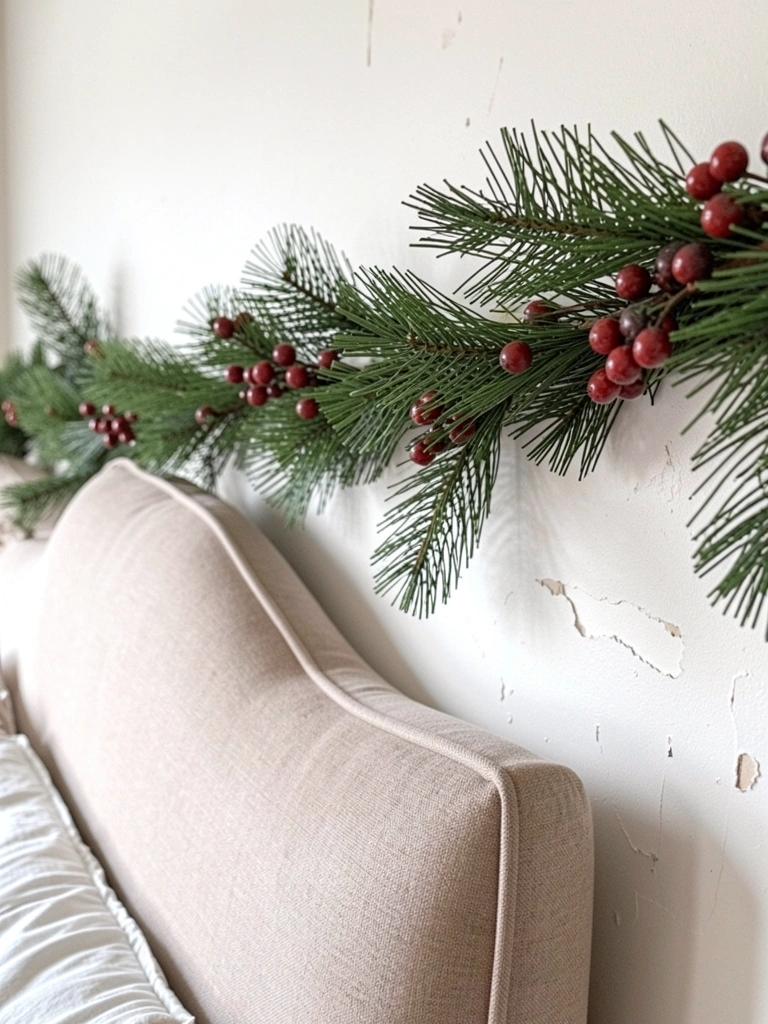
Next, I run the faux pine garland along the top of the walls, behind the bed. Pin it loosely with clips. Let branches dip naturally.
This frames the bed without taking floor space. The room gains depth. Greens warm the white walls.
Most forget garland softens edges. It connects ceiling to floor visually. Avoid straight lines; curve it for flow.
Step 3: Add Soft Lighting Layers
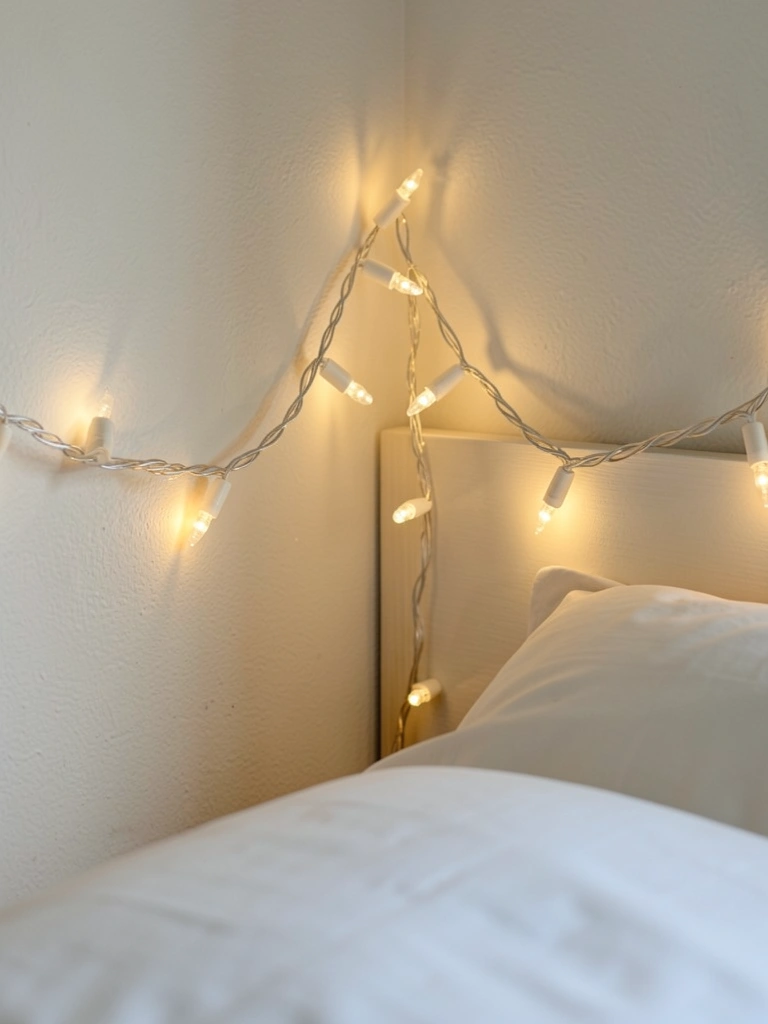
I weave fairy lights into the garland. Plug them in or use batteries. Drape extras over a nightstand.
Light shifts the feel from flat to inviting. Shadows play gently at night. Guests notice the glow first.
The insight: lights tie elements together. Without them, it's just stuff. Don't overload outlets—keep it simple.
Step 4: Place the Mini Tree in the Corner
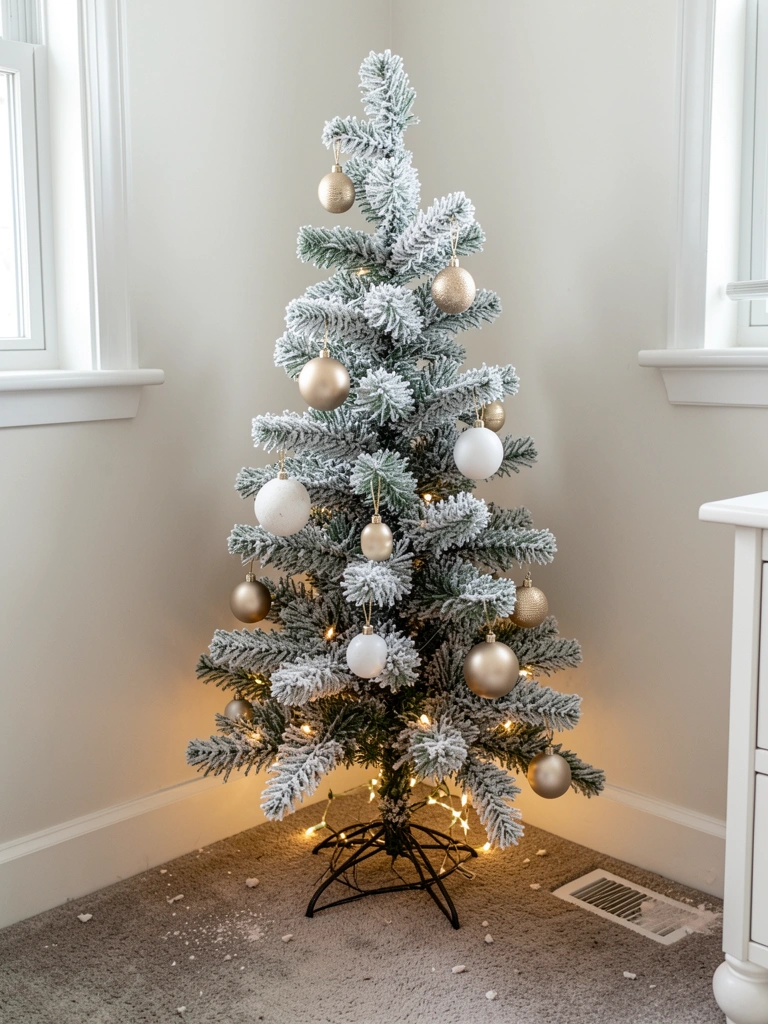
Set the mini tree in the corner opposite the bed. Fluff branches lightly. Add a few lights from step three.
It draws the eye without dominating. The room feels full now, balanced. Greens echo the garland.
Folks overlook corner spots—they're gold for small trees. Don't center it; offset for flow. Mistake: overcrowding with too many ornaments.
Step 5: Scatter Small Accessories
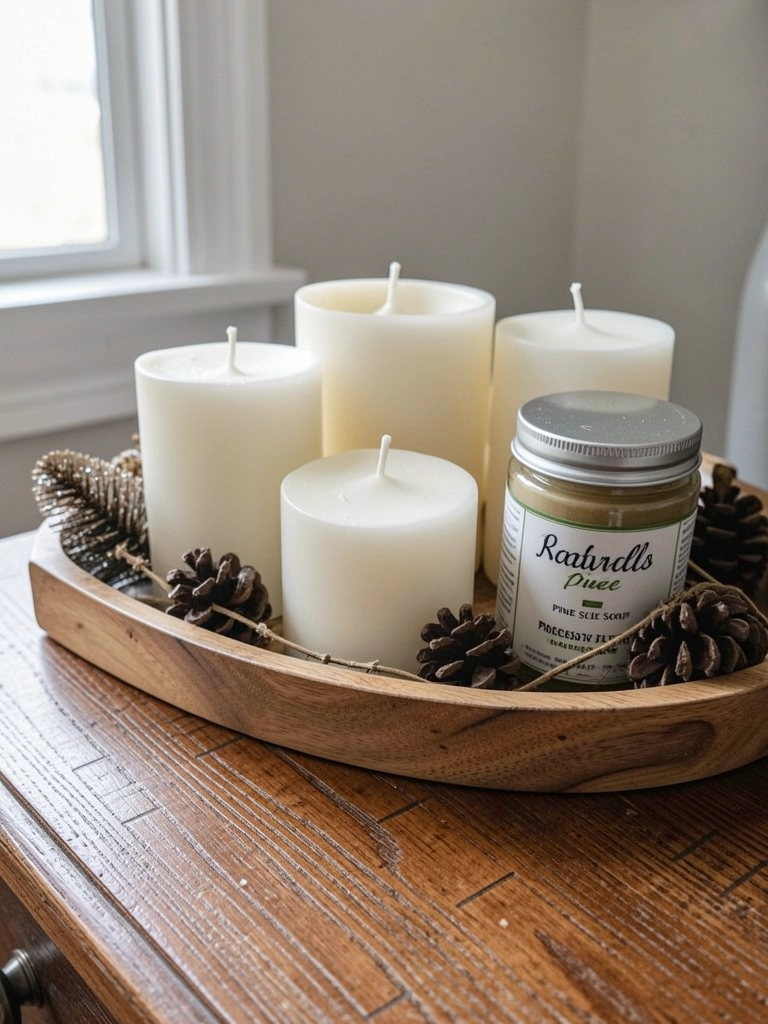
Finish with the tray on the nightstand. Group pillar candles and a pine candle. Add a few ornaments.
This adds scent and detail up close. The space settles—intentional, comfortable. Guests feel welcomed.
Key miss: accessories ground the layers. Place them where eyes rest. Avoid symmetry; slight offset looks natural.
Holiday Color Balance in Small Spaces
I keep colors to three: cream base, green accents, red pops. It stays clean.
Too many shades muddle things. In my guest room, this mix warms without clashing.
- Start with neutrals on bed.
- Layer one bold per surface.
- Test at night—colors shift.
Guests sleep better in balanced light.
Making Holiday Decor Guest-Friendly
Guests want simple comfort. I clear paths—no cords across floors.
Scent is subtle; pine candle burns low.
- Nightstand reachable.
- Extra blanket handy.
- No dangling branches.
It feels like home, not a display.
Refreshing for Multiple Holidays
Winter solstice? Swap red pillows for neutrals.
Store garland flat—lasts years.
- Roll lights loosely.
- Fluff tree post-storage.
- Test candles early.
One setup adapts easily.
Final Thoughts
Try the bed layer first. See how it changes the feel.
You'll build from there, step by step. No rush.
Your guest bedroom will welcome people right. It's worth the quiet time arranging.
Leave a Reply