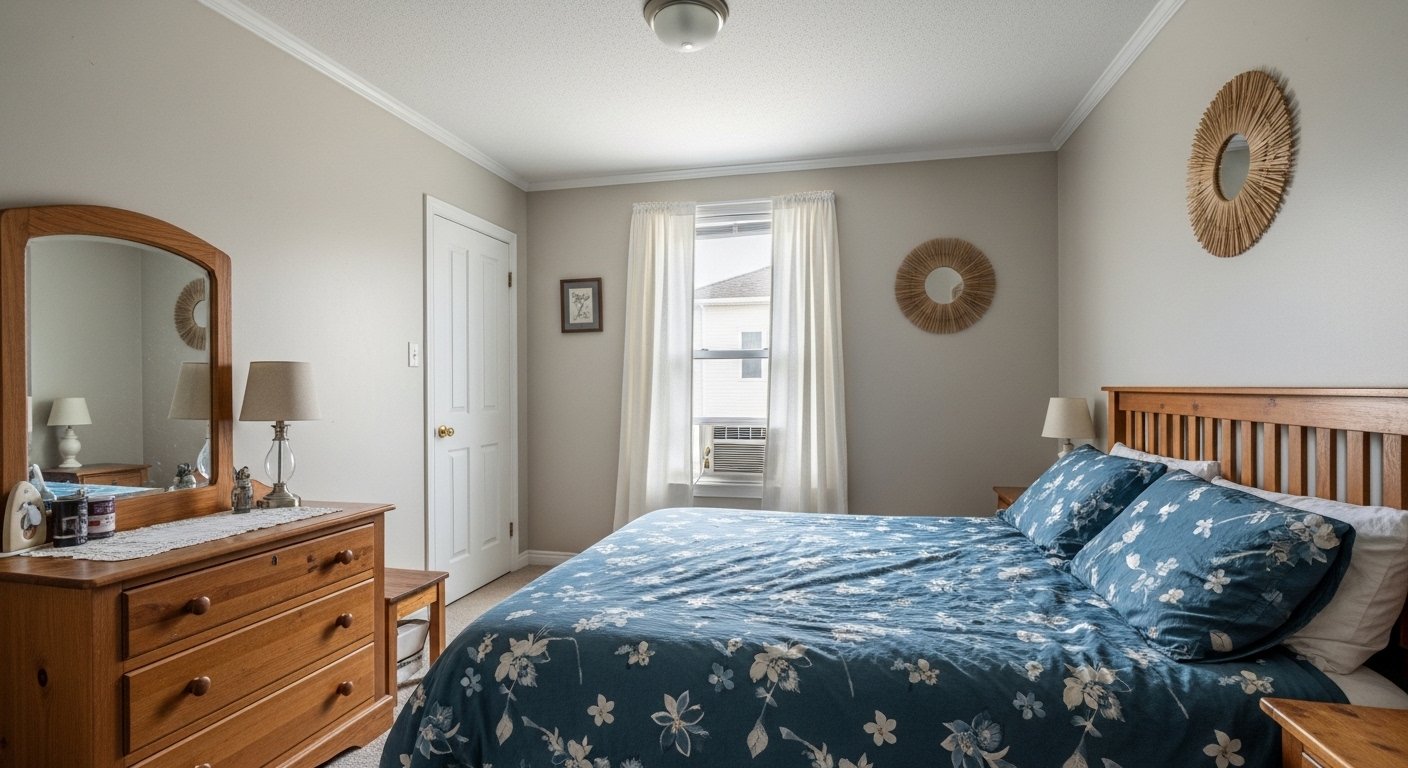
I stared at a blank wall over my bed for weeks. I loved the pieces, but I hated the idea of new holes in fresh paint.
I wanted the room to feel finished and calm. I also wanted the flexibility to move things later.
This method helped me stop overthinking and start placing art with confidence—without damage.
How To Hang Wall Decor In Bedroom Without Damaging Walls
This is the method I use every time a room feels unfinished. You’ll learn how to plan placement, choose removable options, and style layers so the wall reads as intentional and lived-in, not labored or sparse.
What You’ll Need
- Removable Command Picture Hanging Strips (16 Pair, white)
- 8×10 Black Wood Photo Frame Set (pack of 4)
- 48-inch Floating Picture Ledge Shelf (white wood)
- Lightweight Neutral Linen Wall Art Prints (set of 3)
- Blue Painter’s Tape (1" wide roll)
- Self-Adhesive Felt Bumpers (clear, pack)
- Small Torpedo Level (pocket level)
Step 1: Map the space with templates before committing

I start by mapping where the pieces will sit. I cut painter’s tape into frame-sized rectangles and stick them to the wall. That lets me try layouts without a single hole.
The wall suddenly reads as a whole. You see how pieces relate to each other and the bed or nightstand.
People often skip this and hang by guesswork. Don’t place tape too high—stand where you’ll normally view the art.
Step 2: Pick your primary anchor and balance around it
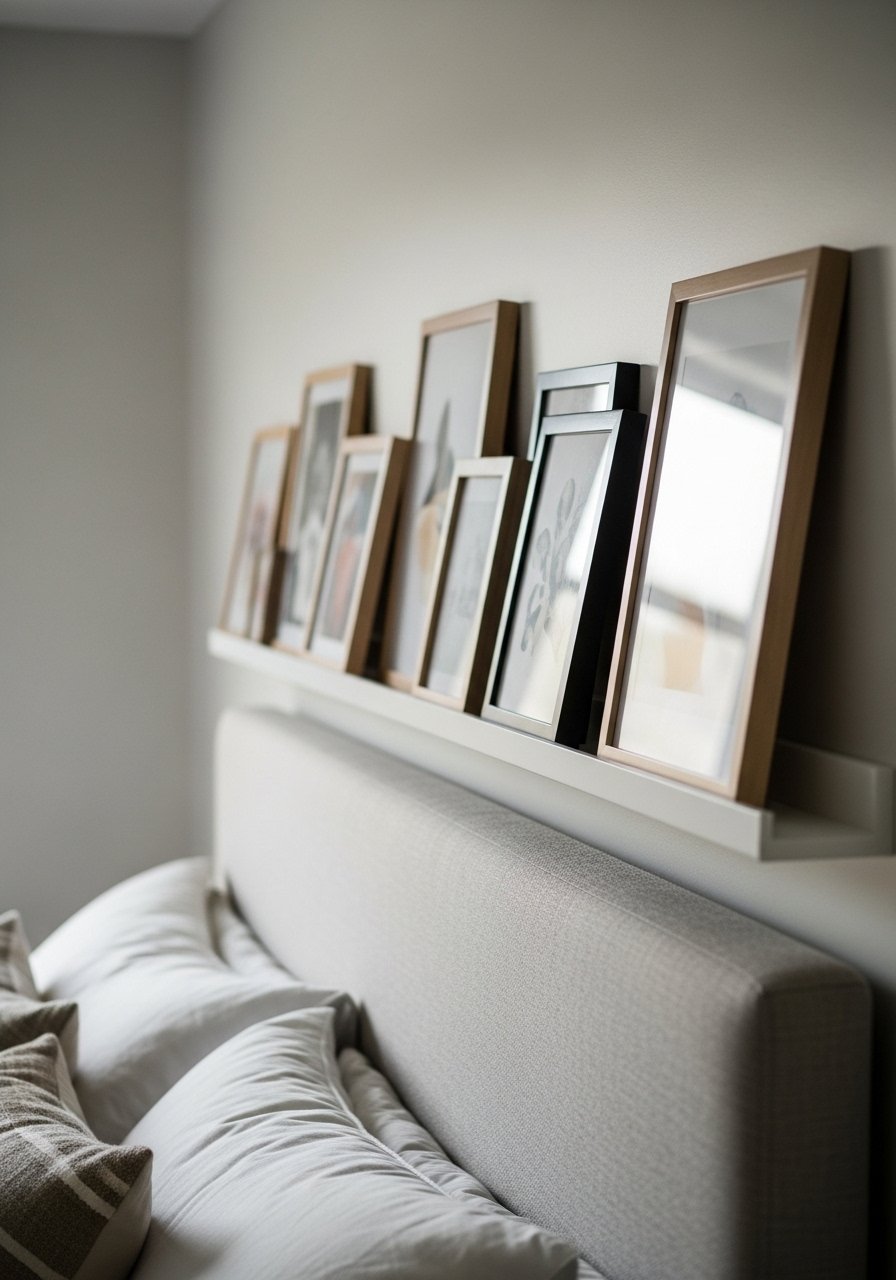
I choose one main anchor—a ledge, large print, or group of frames. Everything else balances off that point. For me, a shallow picture ledge becomes the room’s spine.
When the anchor is set, smaller pieces can be layered or leaned. The wall feels intentional, not scattered.
A common miss is equal spacing by measurement alone. Instead, let the visual weight guide you. Avoid crowding the anchor; give it a little breathing room.
Step 3: Use removable hanging strips to avoid damage
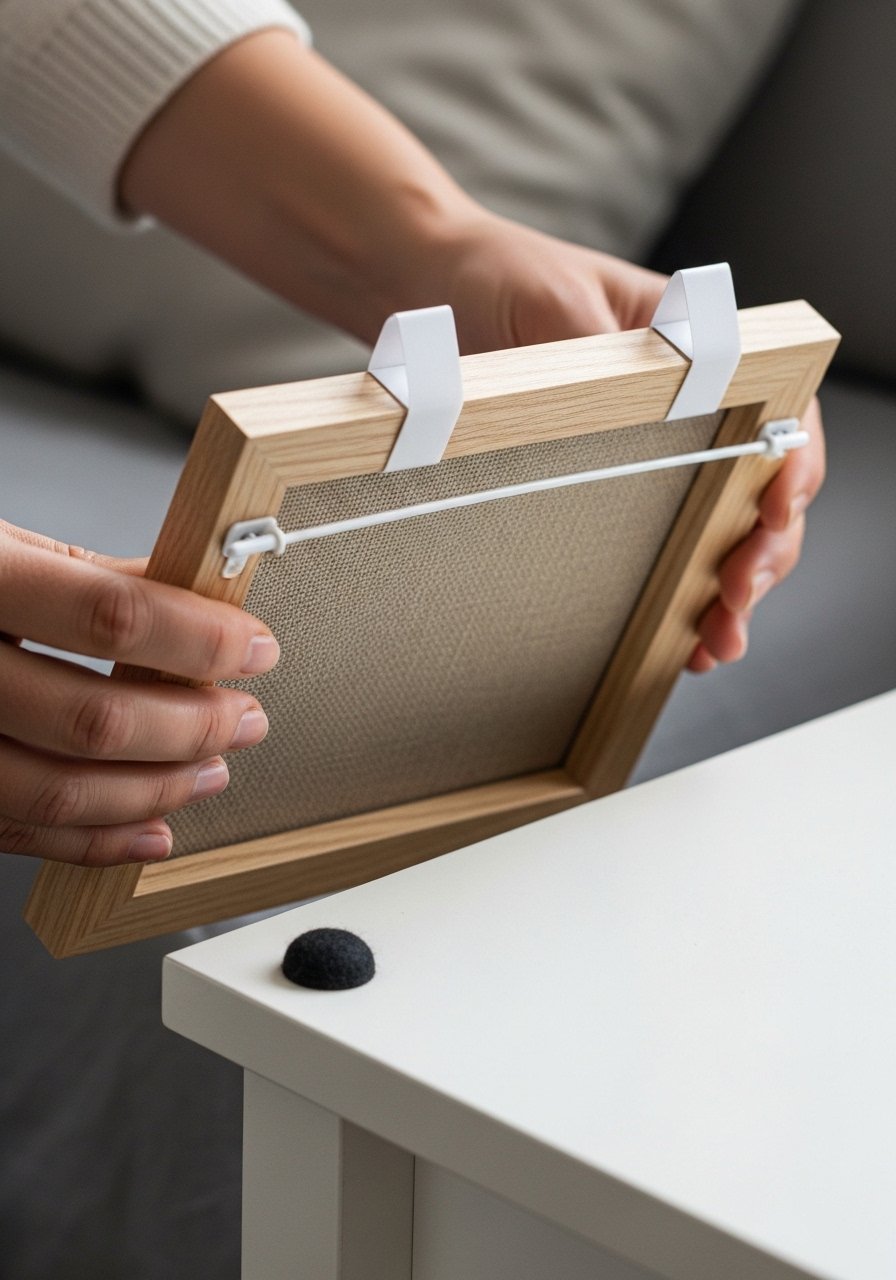
I use removable picture hanging strips for lightweight frames and prints. They keep the edges close to the wall and make swaps easy.
Visually, the frames sit clean and flush. The room gains a polished look without committing to hardware.
People assume removables look temporary. They don’t if you match scale and spacing. Mistake to avoid: trying strips on pieces that are too heavy—use them on lightweight frames only.
Step 4: Lean and layer to avoid holes entirely
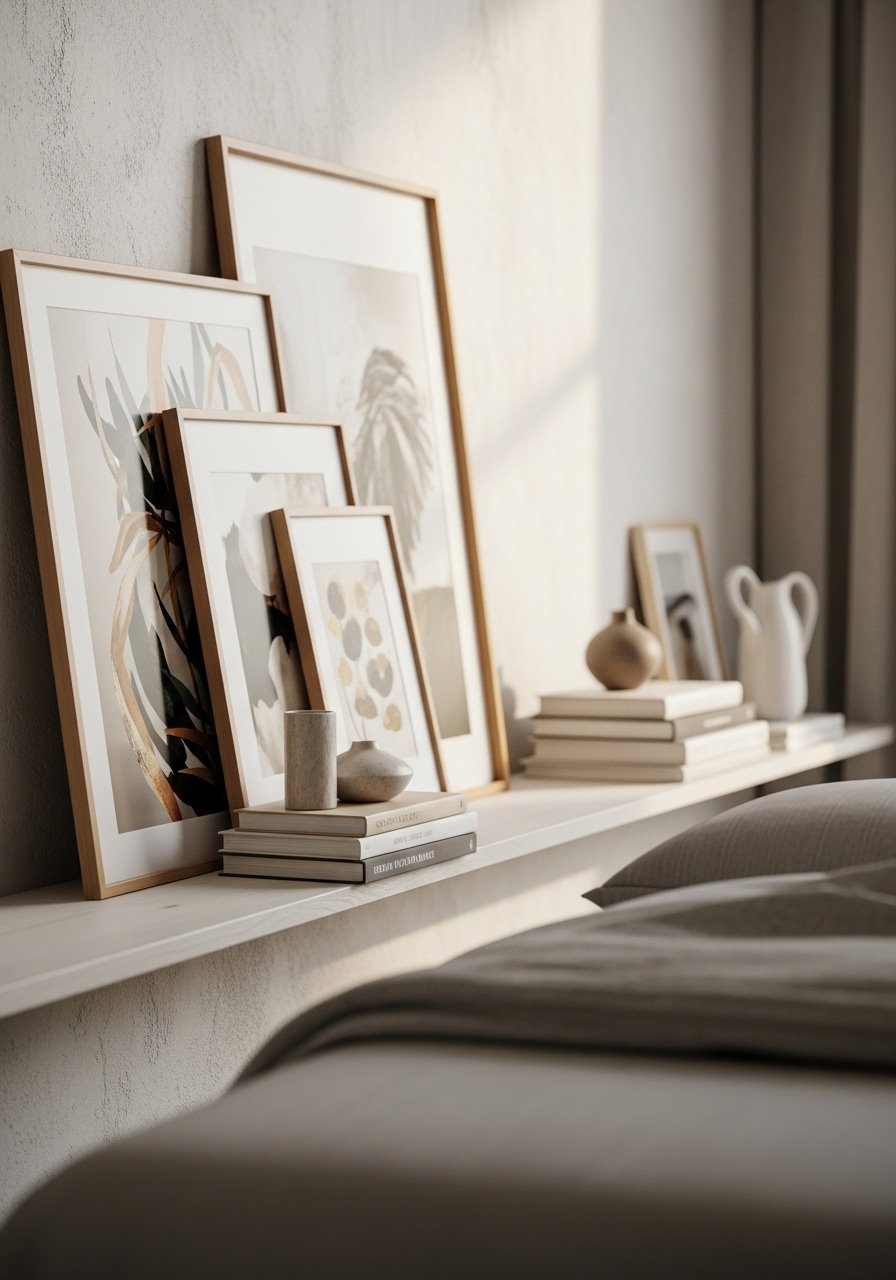
Leaning art on a shelf or ledge gives warmth and depth. I layer a large print at the back, a medium frame in front, and a small object to anchor the corner.
The wall reads layered and lived-in. It also lets me switch things quickly when I want a new vibe.
People forget to add small non-art items for scale. Don’t overstack; keep one side slightly heavier so the eye moves naturally across the arrangement.
Step 5: Step back, tweak spacing, and protect corners

I always take a breath and step back. I look for alignment with furniture lines and that 6–12 inch gap above a headboard or 57–60 inch eye-level rule when there’s no furniture.
Then I add felt bumpers to the frame corners and tweak small gaps. Those little fixes stop frames from shifting and keep edges from marking the wall.
A mistake is rushing the final glance. Small shifts make a big difference in how comfortable the wall feels.
Placement Basics For Bedrooms
Bedrooms need calm, not competition. I place art to support the bed, dresser, or reading nook—not to fight them. Aim for one anchor and lighter companions.
Keep the headboard line in mind. When art is above furniture, treat that furniture as part of the composition. Leave breathing room so the wall feels balanced and restful.
When To Choose Removable Hanging Methods
I pick removable hanging strips when I want flexibility or when walls are rented. They work best for lightweight frames and prints.
Switch to ledges and leaning pieces for heavier objects or layered looks. If something’s sentimental or heavy, I’ll opt for a more permanent solution—after measuring and planning.
Styling Tips For Small Walls
On small walls, scale down frames and use vertical groupings to draw the eye up. A narrow ledge can hold multiple small frames without looking cluttered.
Limit your palette to two or three tones so things read as a set. Tiny adjustments—an extra inch of space or a small vase—make the arrangement feel finished.
Final Thoughts
Start with one small area. Map it, pick an anchor, and use removables where possible. Take your time stepping back and editing.
You can make a bedroom feel composed without new holes or big commitments. It’s about balance and how the wall makes you feel.
Now pick one wall and try a simple layout—you’ll be surprised how quickly it feels like yours.
Leave a Reply