
I’d been staring at the blank wall above my bed for weeks. It made the room feel unfinished, like someone stopped decorating halfway through. I wanted art that felt like the rest of the room: calm, a little personal, not showy.
I tried random prints, then nothing. I learned a simple approach that makes the wall feel deliberate and lived-in.
How To Make Bedroom Wall Art That Adds Personality
This is the method I use every time a room feels unfinished. You’ll learn how to pick a mood, balance scale and texture, and arrange pieces so the wall reads like part of the room. The end result: art that feels personal, calm, and comfortably lived-in.
What You’ll Need
- 24×36 framed canvas print (neutral abstract, linen texture)
- Set of 3 wood picture frames (8×10, walnut finish)
- Woven cotton wall hanging (natural tones, 20×30)
- 36-inch gallery picture ledge (white, slim profile)
- Round wood-framed mirror (30-inch, oak)
- Set of 3 matte ceramic vases (small to medium, off-white)
- Minimal black framed photographic prints (11×14, set of 2)
Step 1: Pick the wall’s role and scale
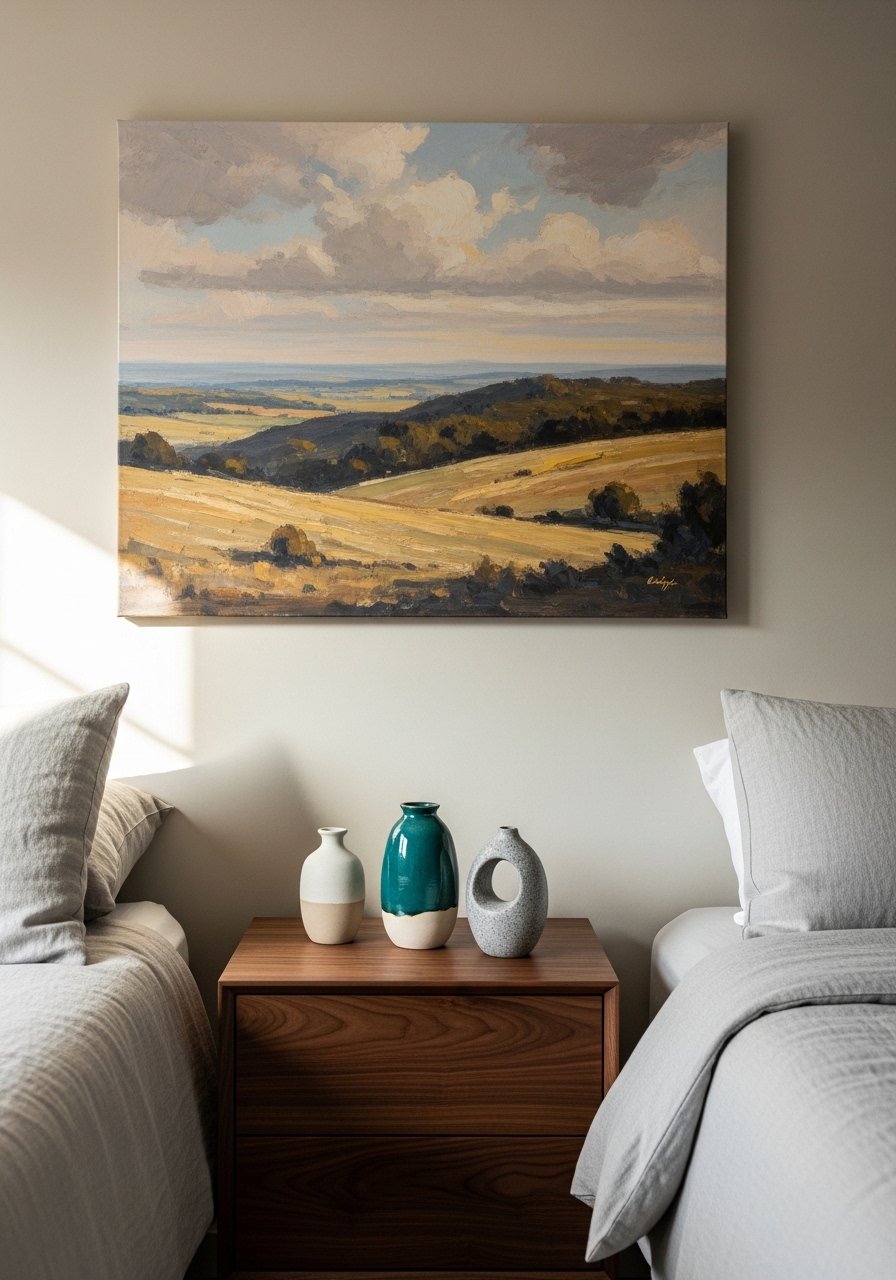
I start by deciding if the wall should be a focal point or a quiet backdrop. In my room I wanted a calm focal point above the bed. That meant one larger piece or a balanced group, not lots of tiny frames.
Visually, the change is obvious: the wall stops feeling empty and begins to anchor the bed. A common insight is to measure the furniture width and let the art sit at about two-thirds that span. A small mistake is choosing pieces that are too small; they read as clutter, not personality.
Step 2: Choose a mood and a limited color story
I decide the mood first—calm, warm, or slightly moody—and pick two main colors plus one accent. For me, neutral linen tones with a warm wood accent keep the room peaceful.
What changes is cohesion: suddenly the art feels like it belongs. People often miss limiting the palette; too many colors fight. Avoid matching everything perfectly. The small mistake I see is picking pieces that are visually loud in a space meant for rest.
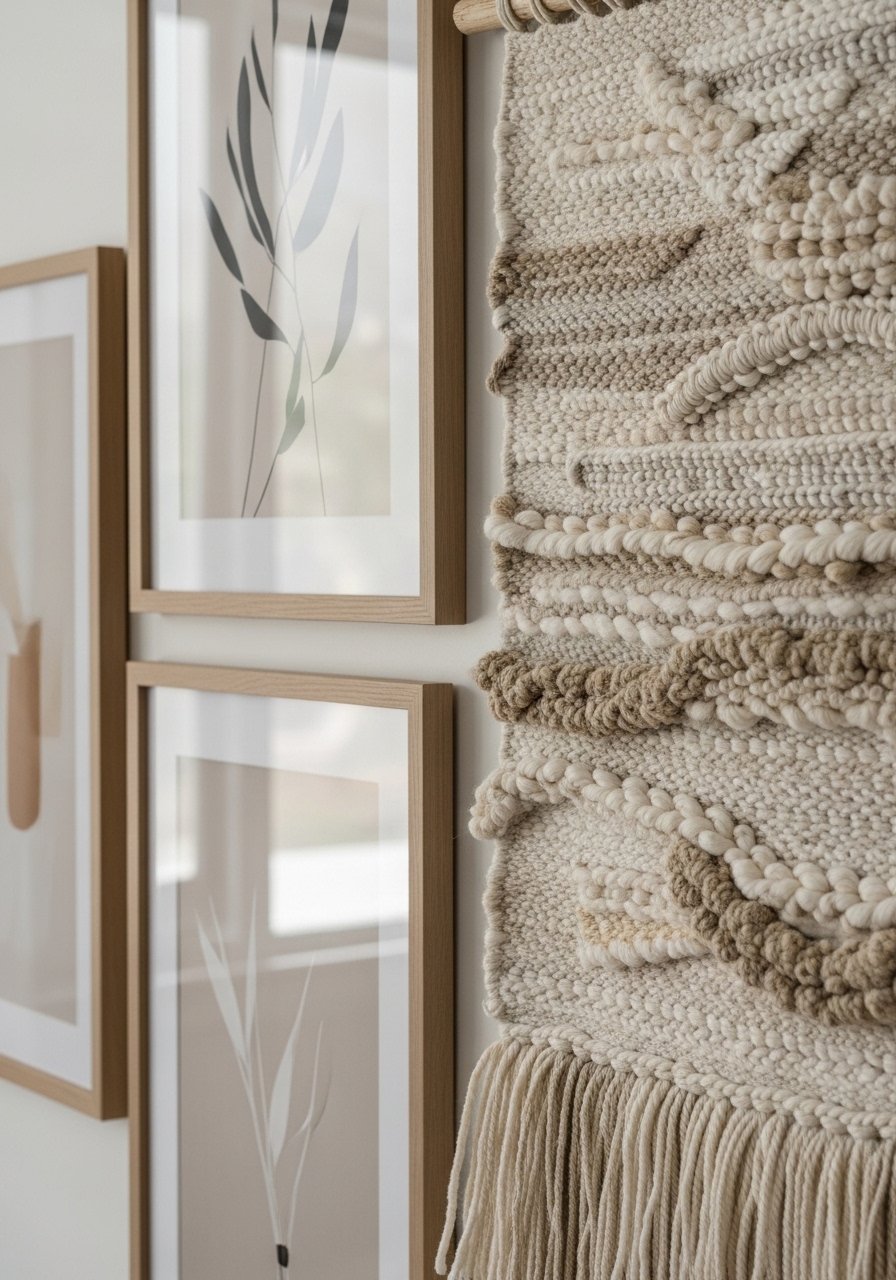
Step 3: Layer textures and frame styles

I mix frame materials and soft textures so the wall doesn’t look flat. A canvas, a wood frame, and a small woven piece create depth. Adding a small shelf or ledge lets me layer in a ceramic vase or plant.
Visually it warms the flat surface. One insight people miss is scale contrast—pair a smooth print with a tactile piece. The mistake to avoid is overdoing matching frames; too uniform makes the display feel manufactured.
Step 4: Arrange with breathing room, then live with it

I arrange pieces with generous spacing and then step back. I move things at eye level and let larger items anchor the composition. I always leave a moment to live with it for a few days before finalizing.
You’ll notice the room relax when spacing is right. A common insight is that negative space is part of the design. A small mistake is crowding everything tightly—walls need air to feel intentional.
Step 5: Edit over time and add one personal touch
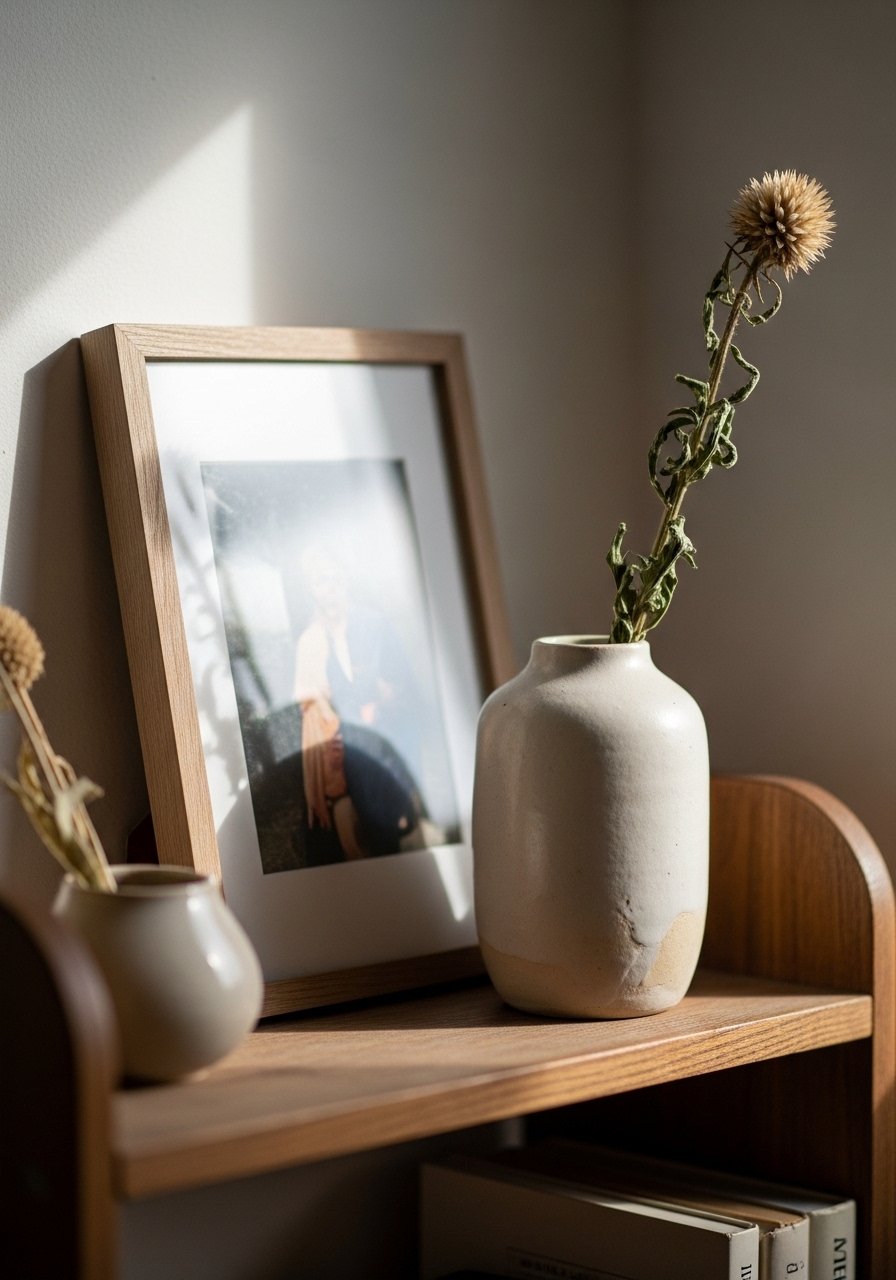
I treat the wall as something to edit. After a week I swap one piece or add a small object that feels personal—a travel photo, a found print, or a dried stem.
The visual shift is subtle but meaningful; the wall starts to tell a story. People often miss that art can evolve. Avoid keeping everything permanent; the mistake is treating your first layout as final when it can grow with you.
Mixing scales and textures
I prefer mixing one larger piece with smaller companions. It keeps the eye moving without chaos. Try one substantial canvas plus two or three smaller textured items.
Bulleted habits I follow:
- One large anchor, smaller accents
- Vary heights and materials
This keeps the wall balanced and comfortable.
Working with color and mood
I stick to two main tones and one accent. This keeps the bedroom calm and cohesive. If the room already has patterned bedding, I pull colors from that.
If you’re unsure, start neutral and introduce a single colored accent. It’s easier to live with and swap later.
Editing and living with your art
Art isn’t finished the day it’s hung. I change one small piece seasonally or when I find something new. That keeps the wall feeling personal.
Create a simple routine: live with the layout for a week, then tweak. Small edits keep the space feeling like yours.
Final Thoughts
Start small. Pick one wall, choose a mood, and add an anchor piece. Work in layers and give yourself time to live with it. The wall will start to feel like part of the room, not an afterthought. Trust the process and make tiny edits until it feels right.
Leave a Reply