I stared at my bedroom vanity for months. It was a plain table piled with makeup and jewelry. The corner felt dead, pulling the room down. I wanted it warm and useful, not messy.
One weekend, I cleared it out. Started simple. Now it draws my eye in a good way.
You can do this too. It takes an afternoon.
How To Style Vanity Bedroom Decor Ideas For Women
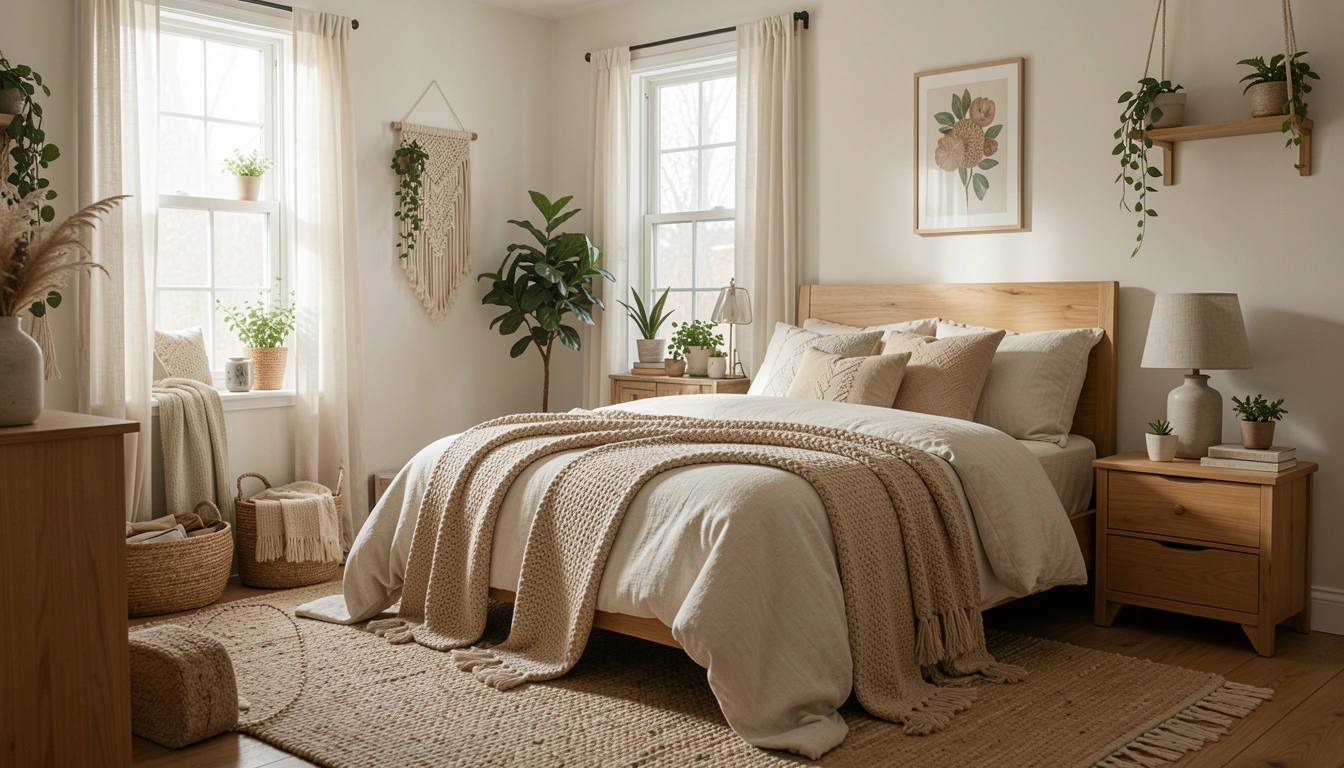
This shows you how to make your vanity the calm heart of your bedroom. It becomes a spot you actually use, with balance that settles the whole room. Balanced layers make it feel right.
What You’ll Need
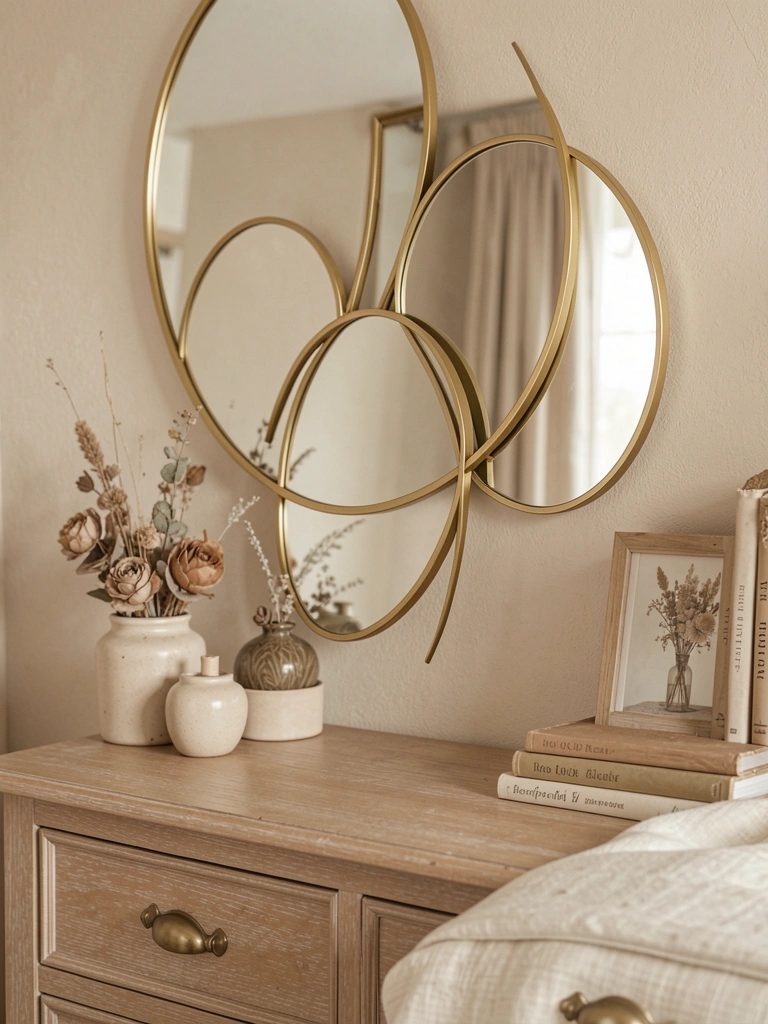
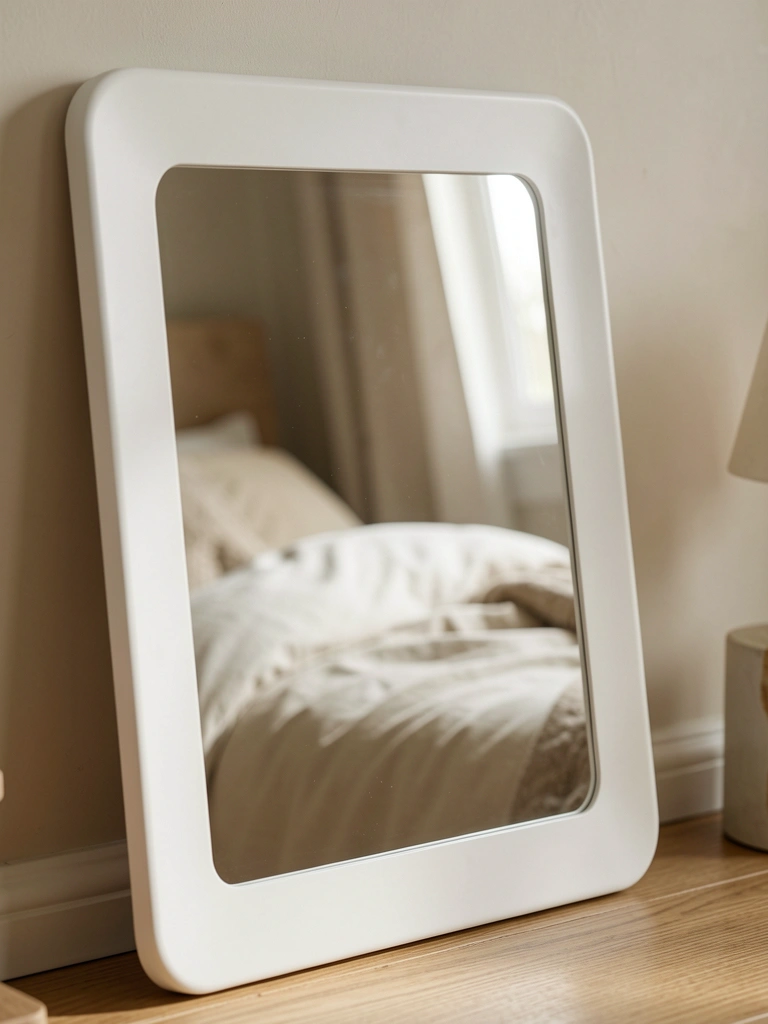
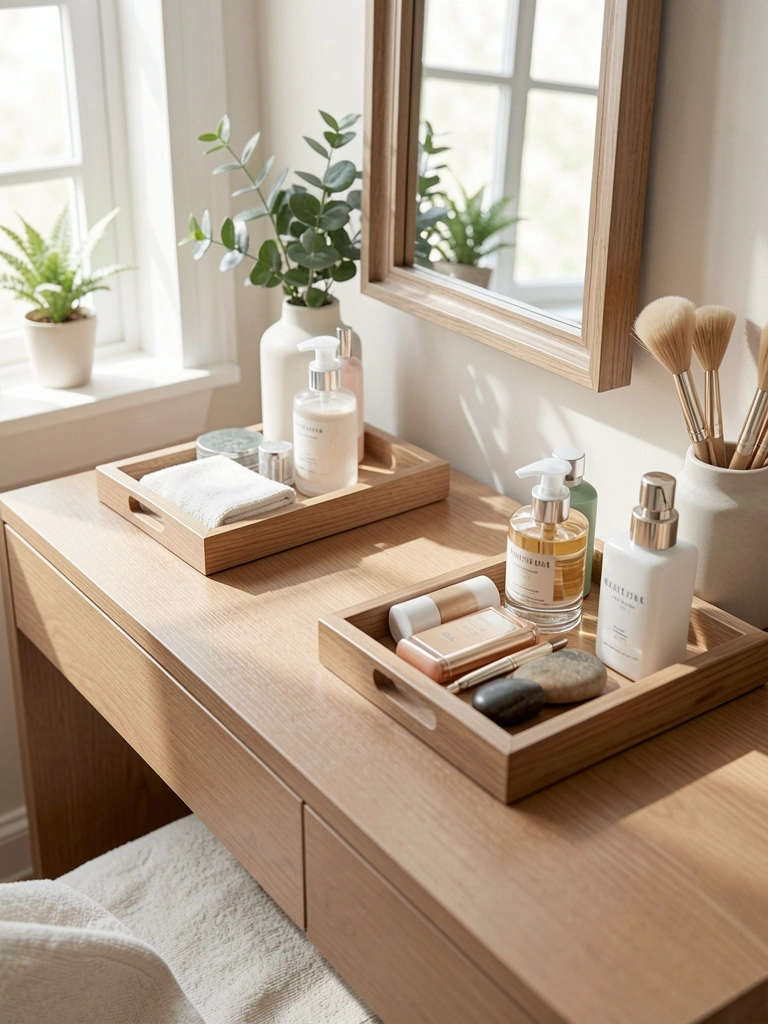
- Antique-style oval mirror 24-inch gold frame
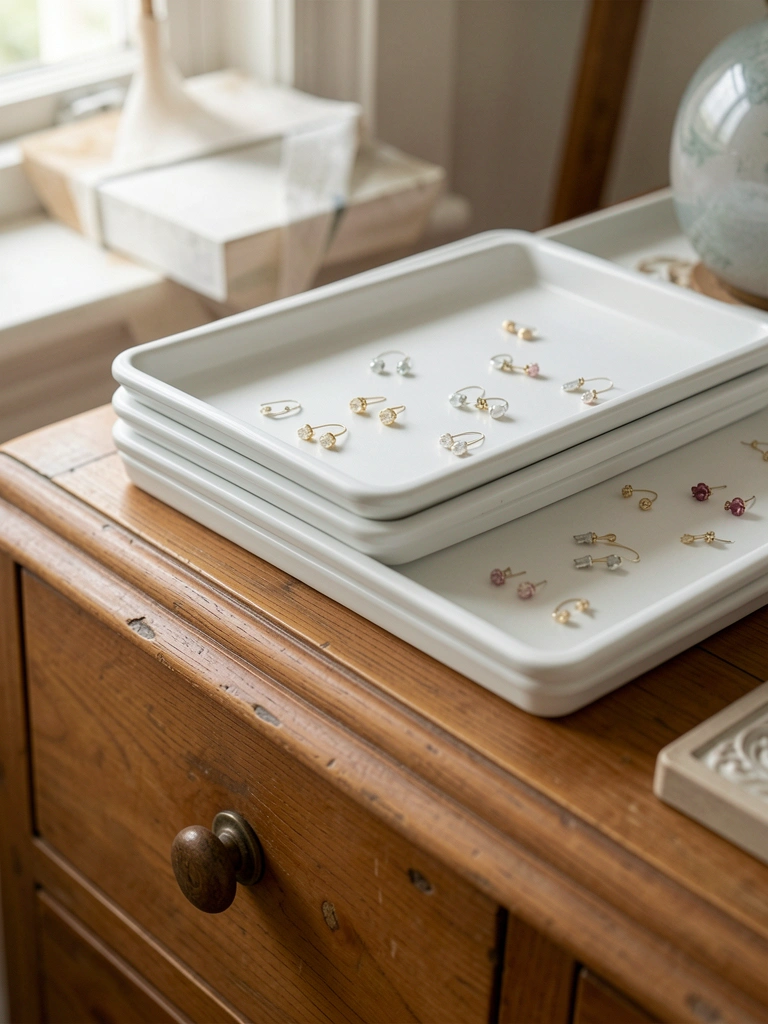
- Round rattan tray 12-inch natural
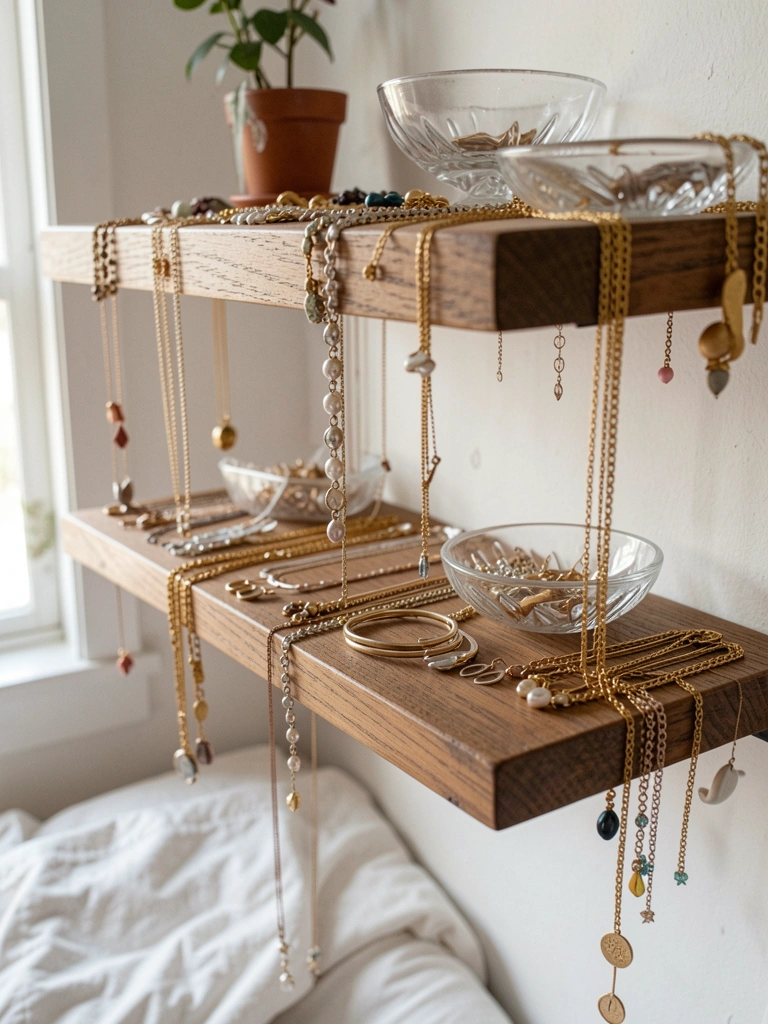
- Three-tier acrylic jewelry organizer clear
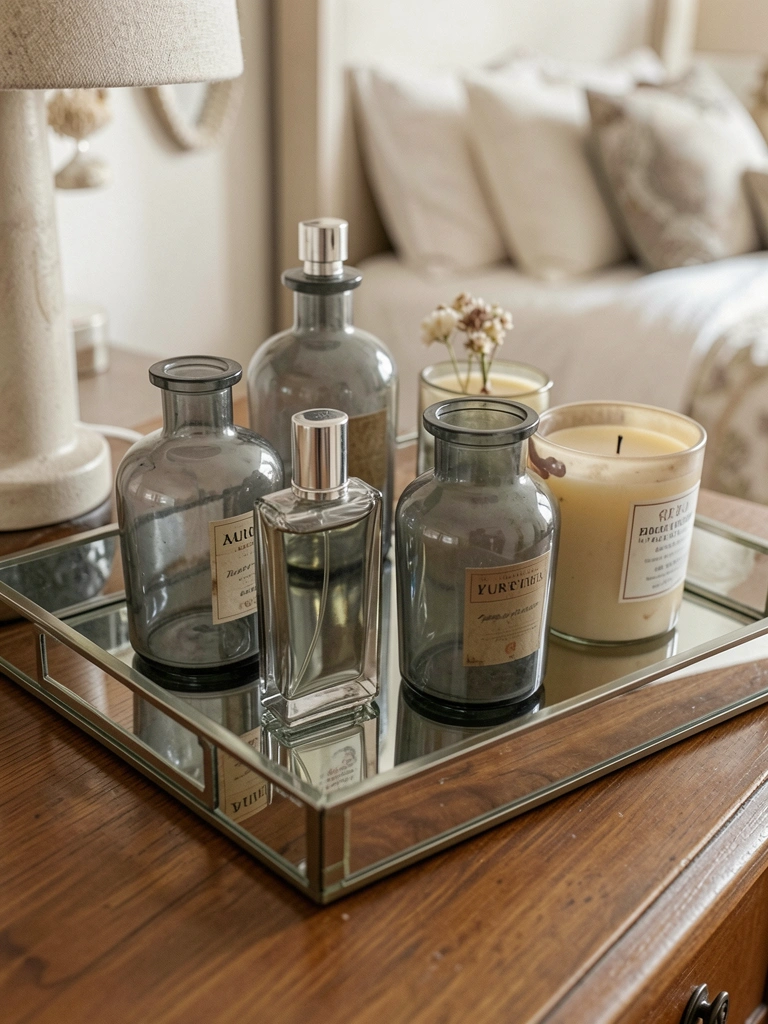
- Small ceramic perfume tray white matte 10-inch
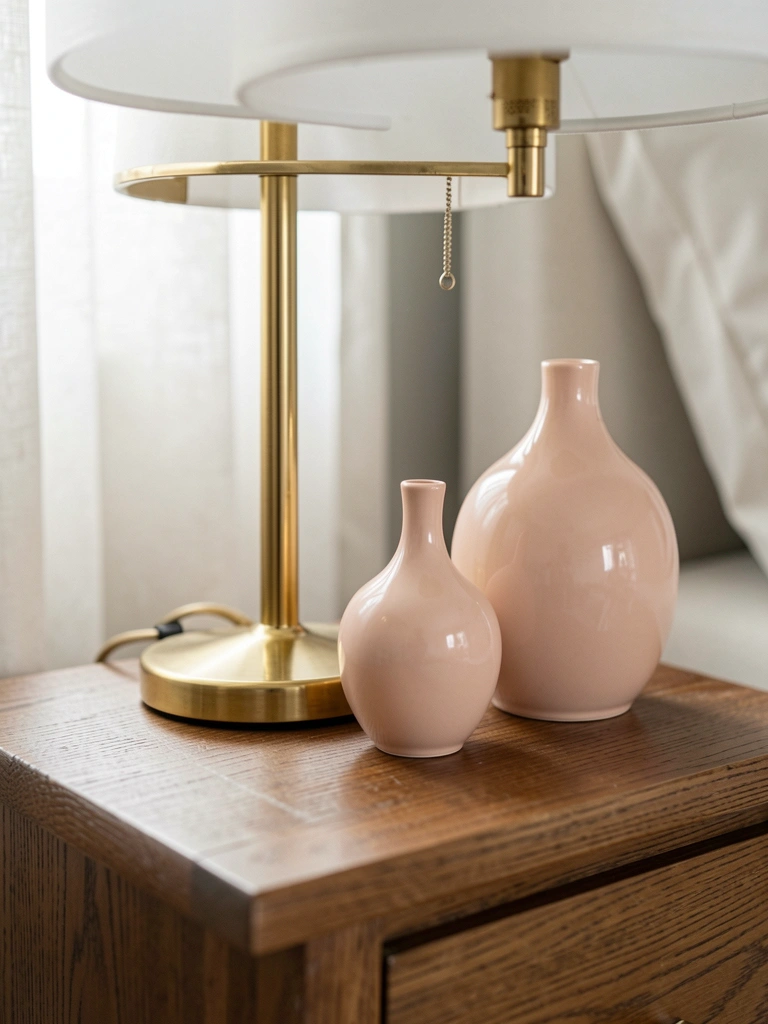
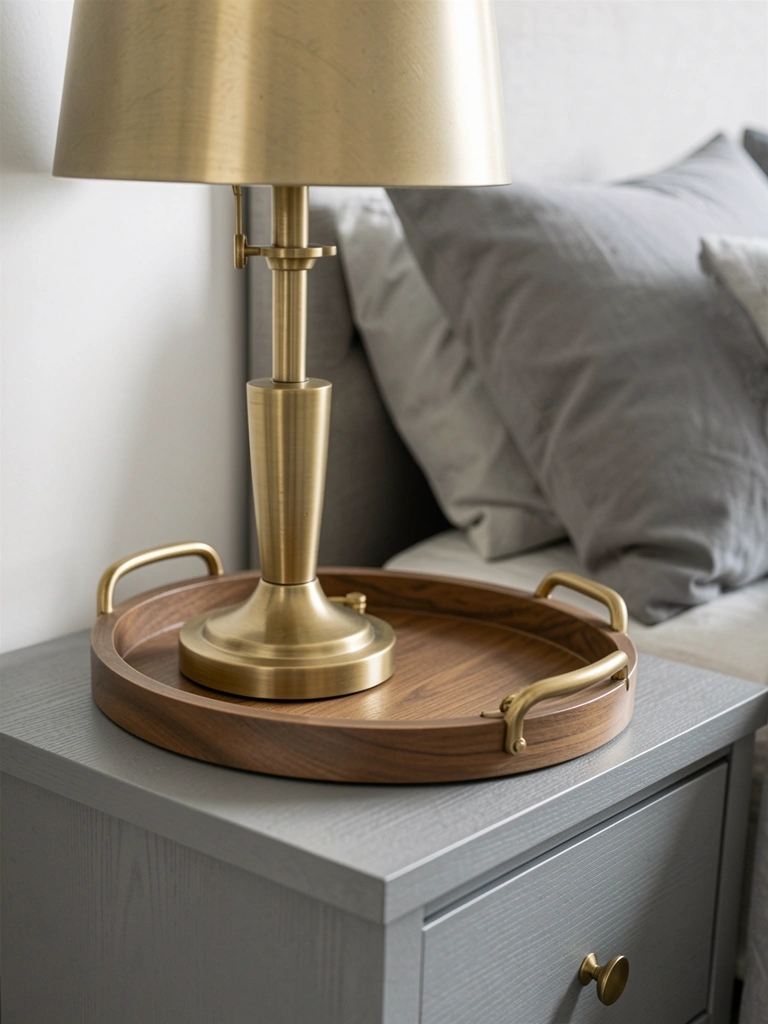
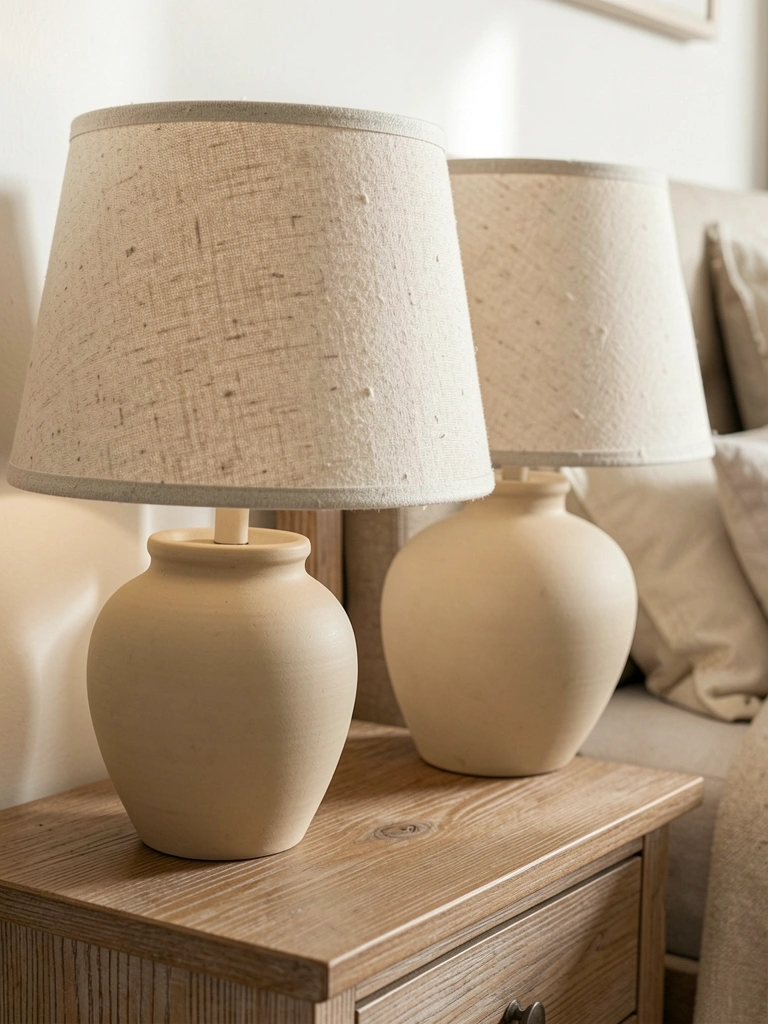
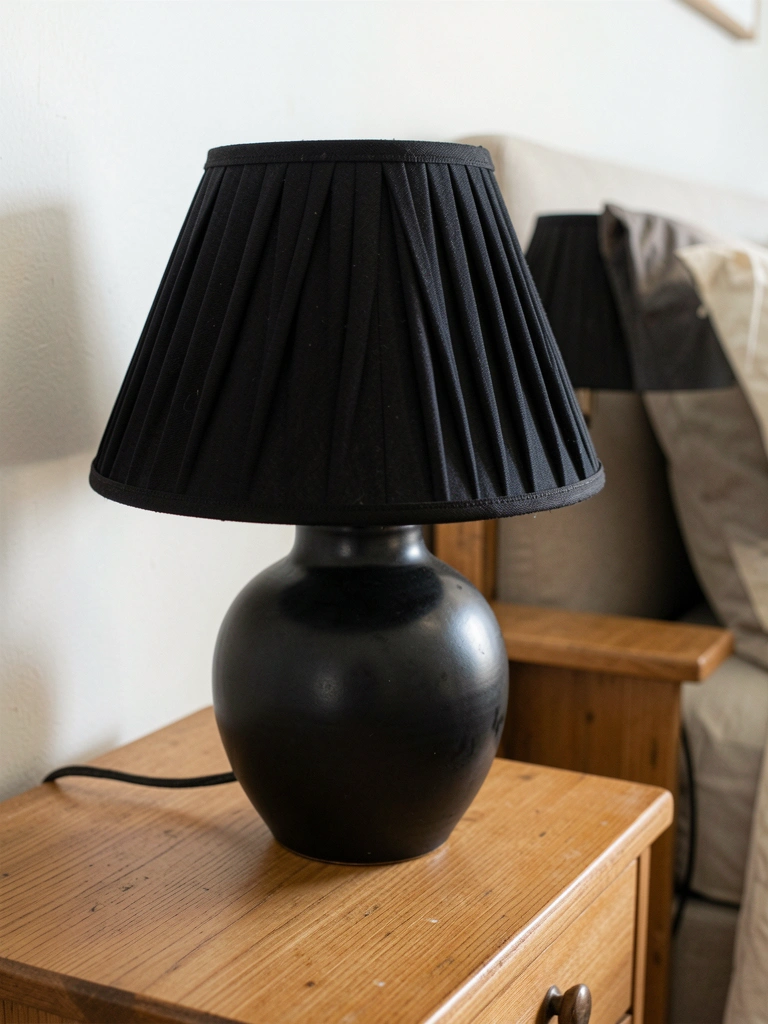
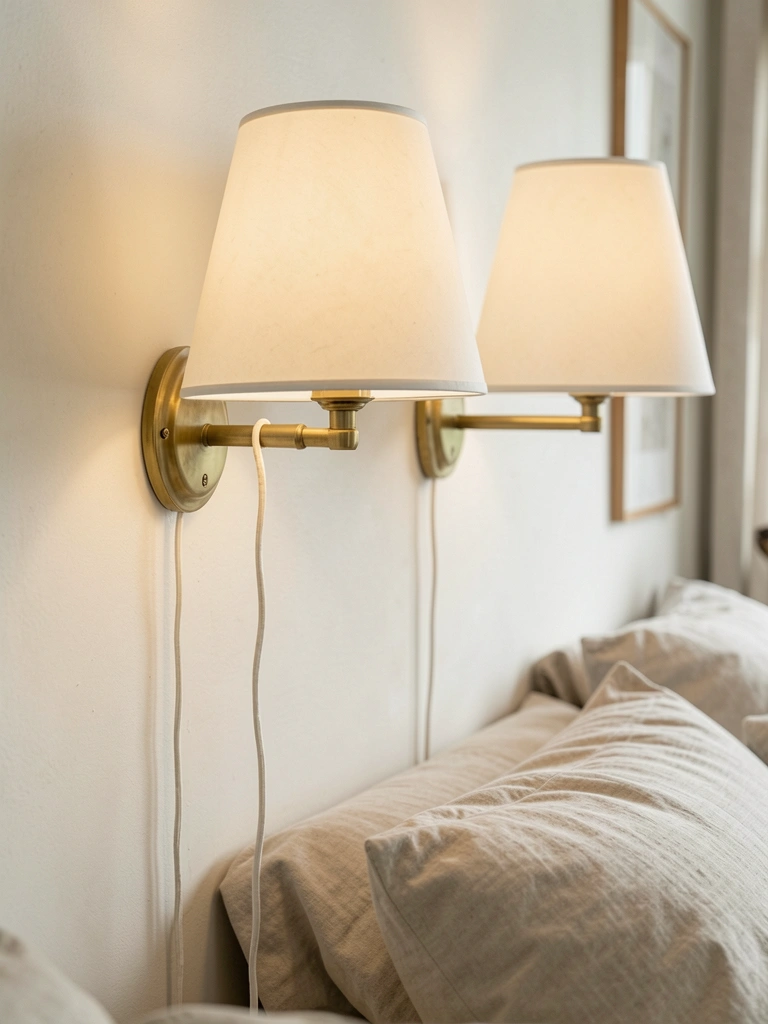
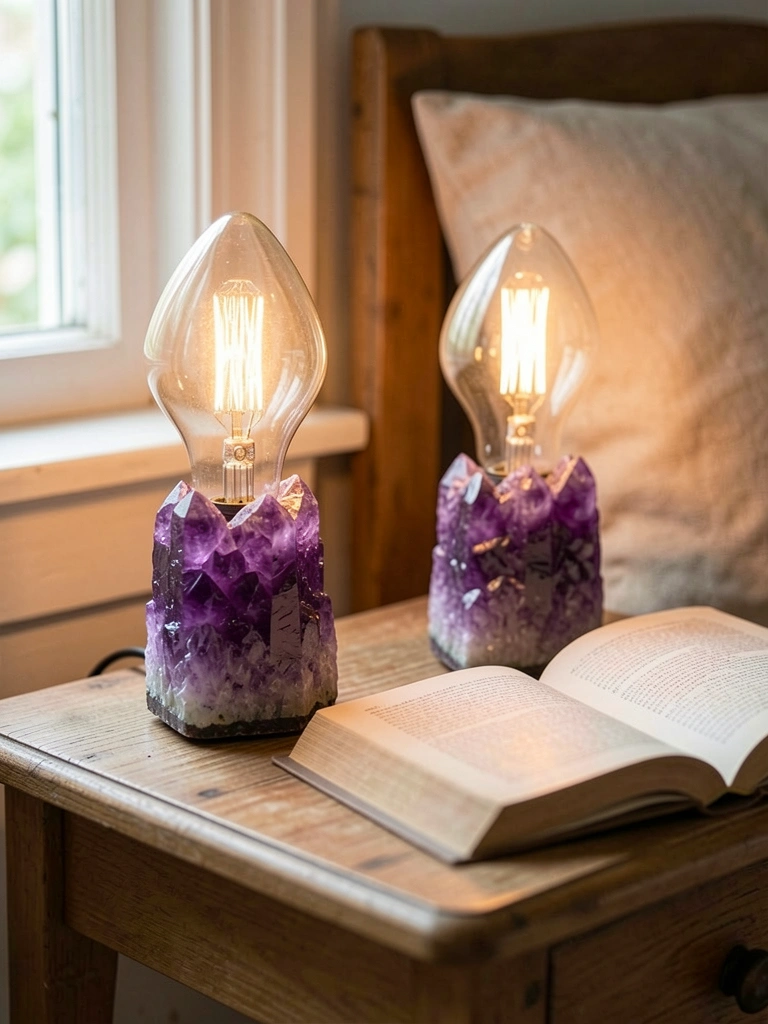
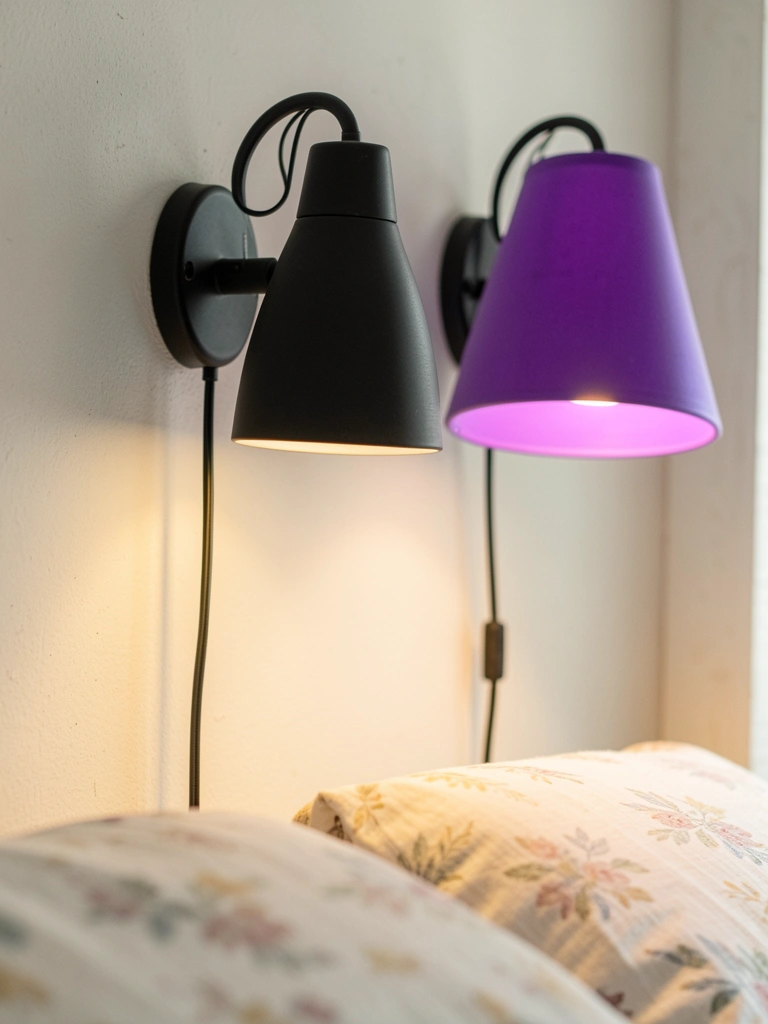
- Brass table lamp 12-inch with linen shade
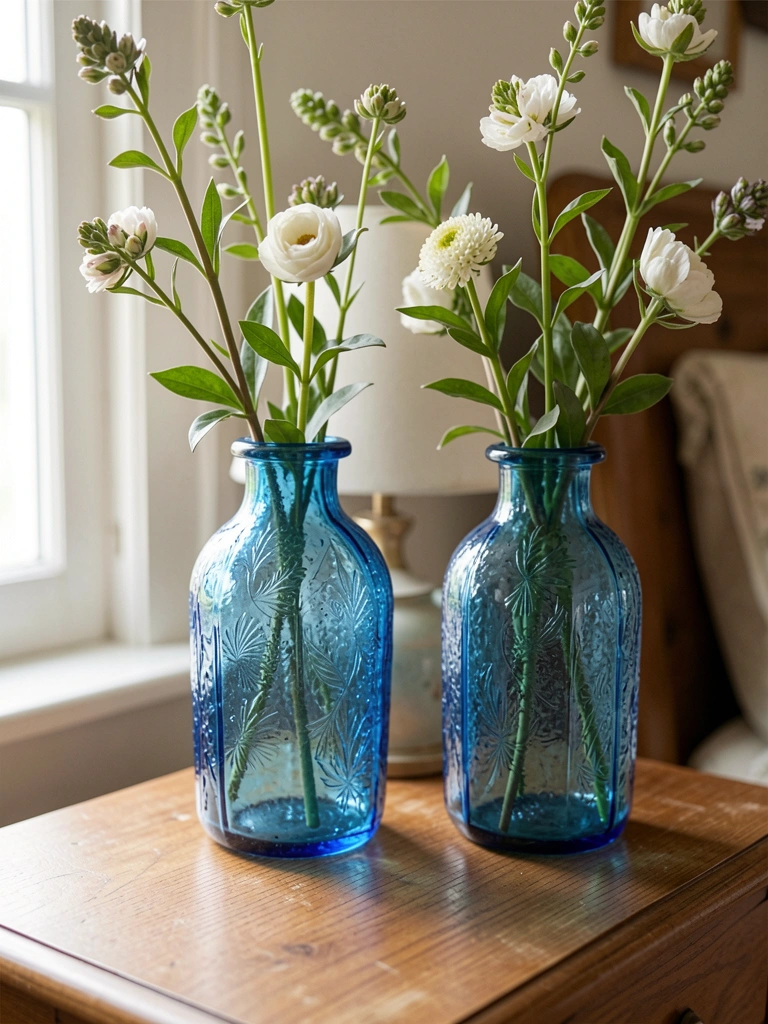
- Faux peony bouquet in glass vase 8-inch pink
- Linen jewelry box rose gold 6×6-inch
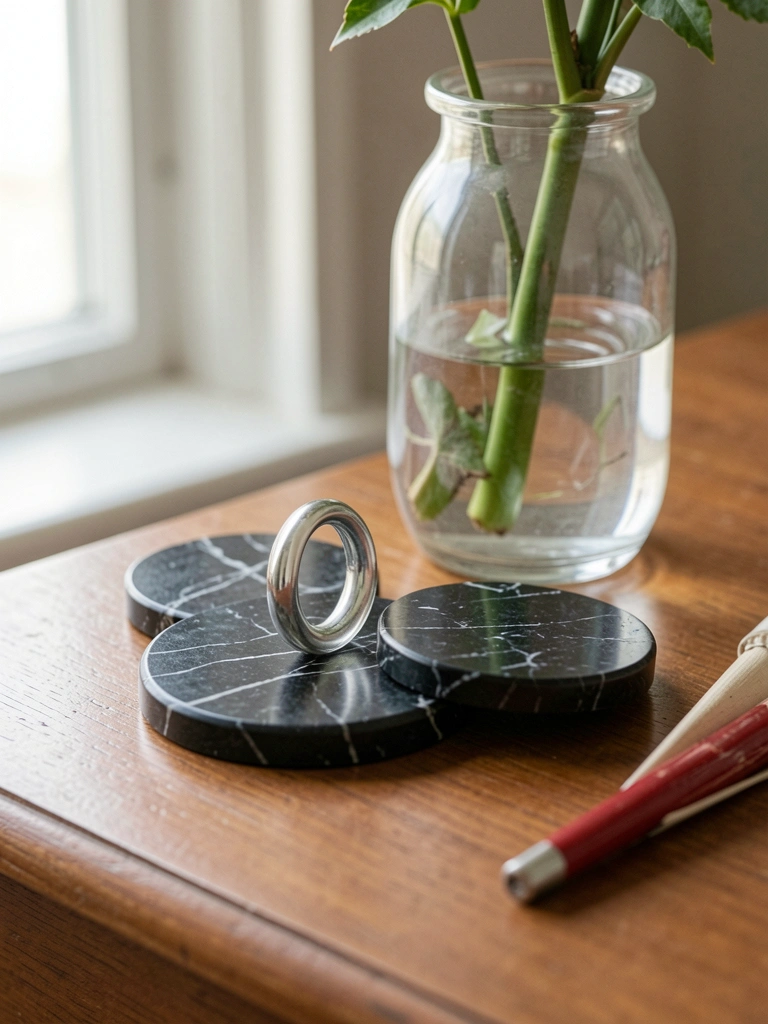
- Marble coasters set of 4 white 4-inch
Step 1: Pick Your Spot and Clear the Surface
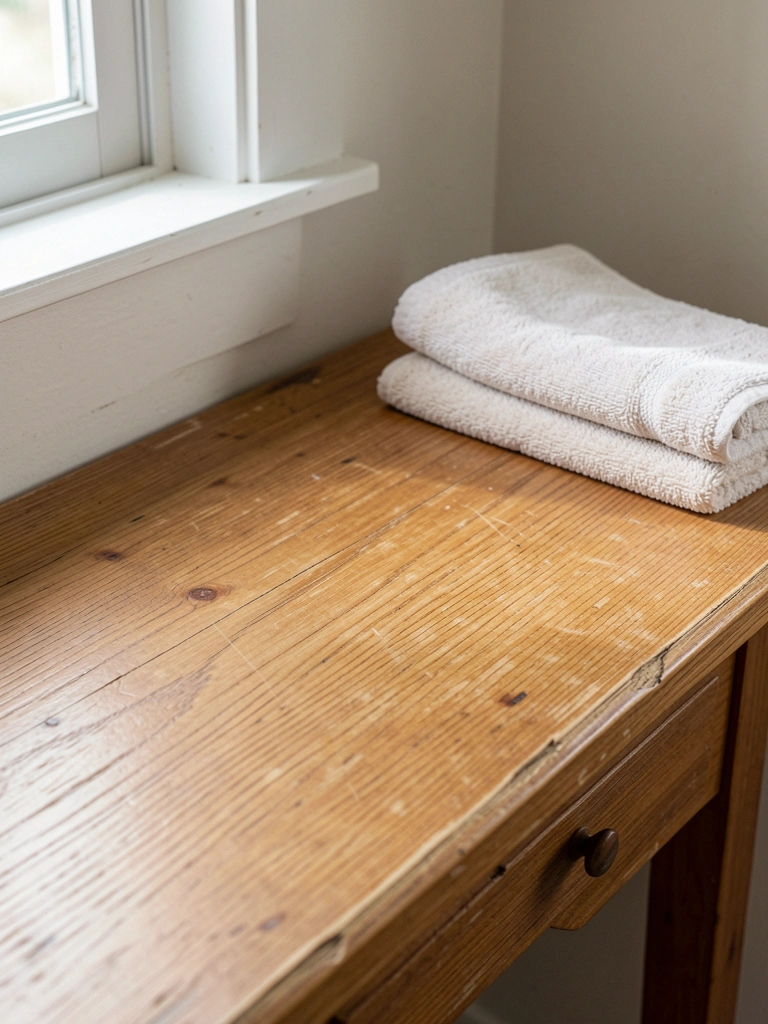
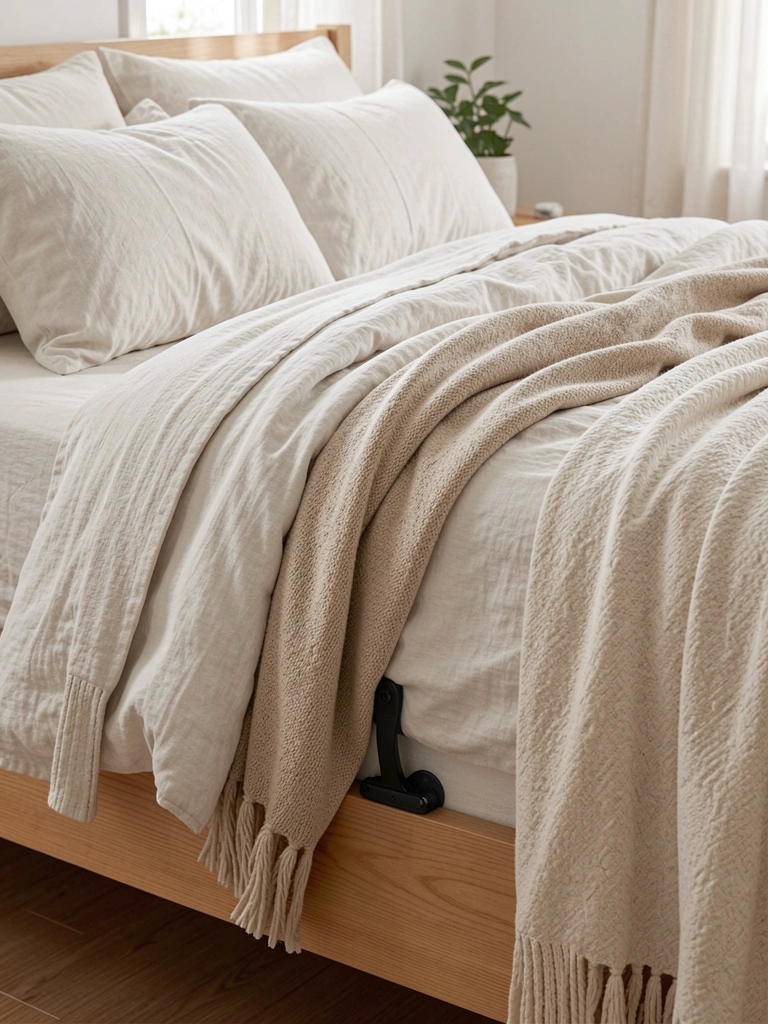
I move my vanity to a spot with good light, like near a window. It faces the bed so I see it first thing. I wipe it down and take everything off. The surface breathes now.
Visually, the room opens up. That empty space feels promising, not blank. People miss how much clutter hides the vanity's shape—let it show.
Don't stack old mail here. It kills the calm before you start.
This grounds everything. I feel steady placing the next pieces.
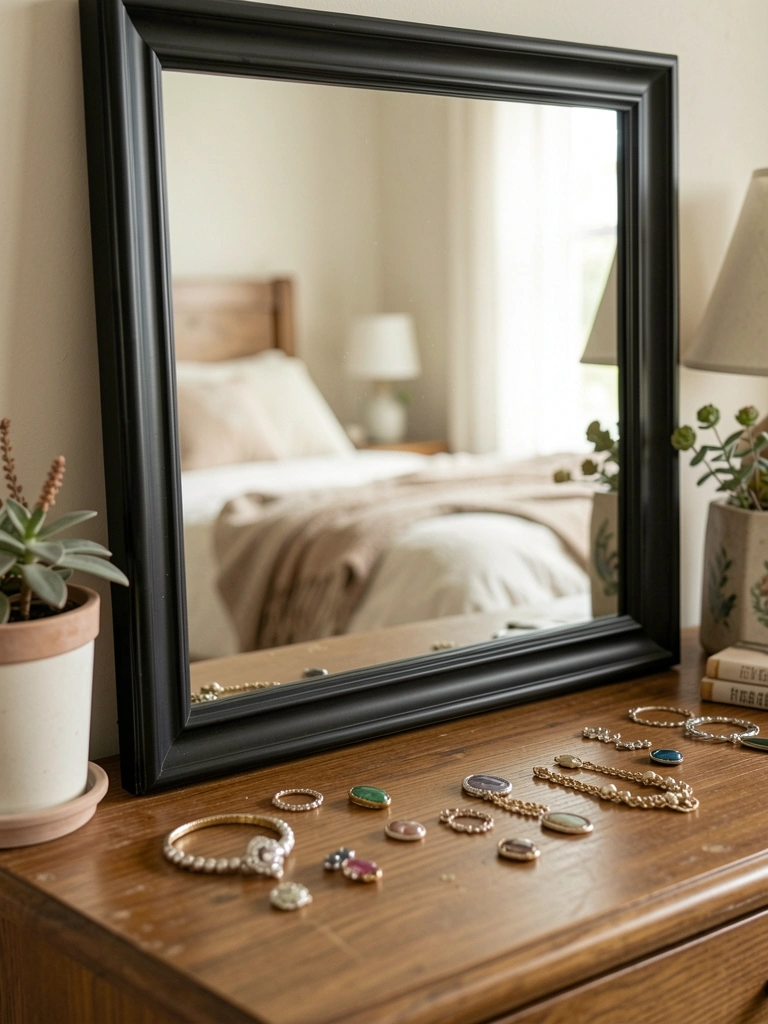
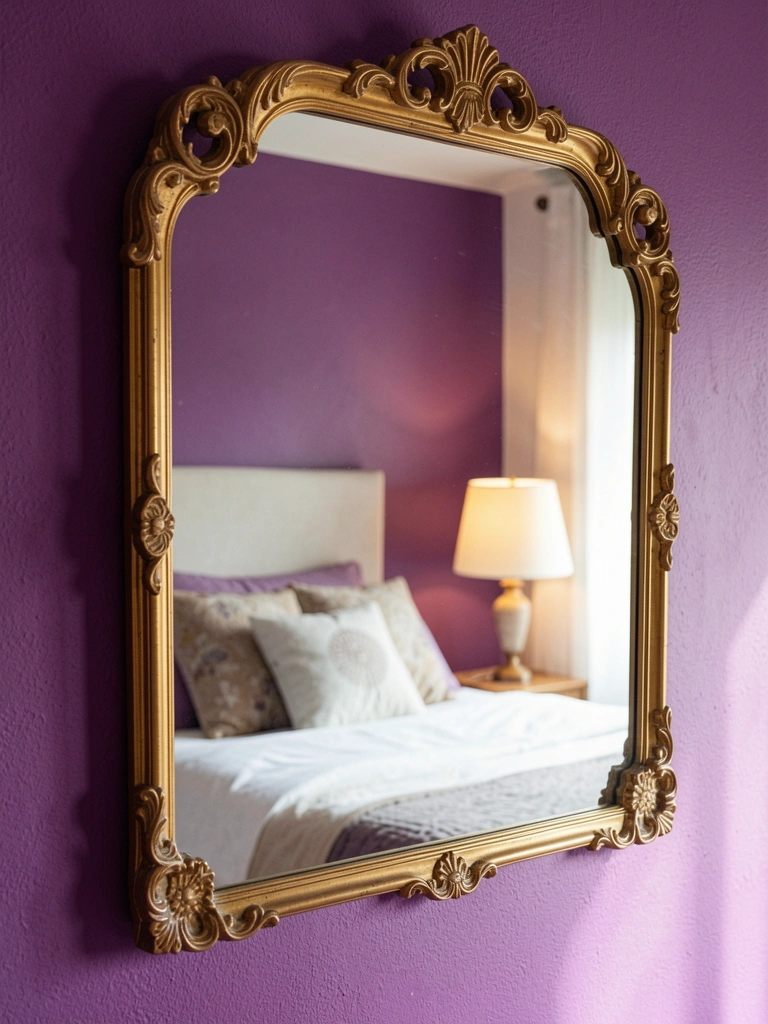
Step 2: Anchor with the Mirror
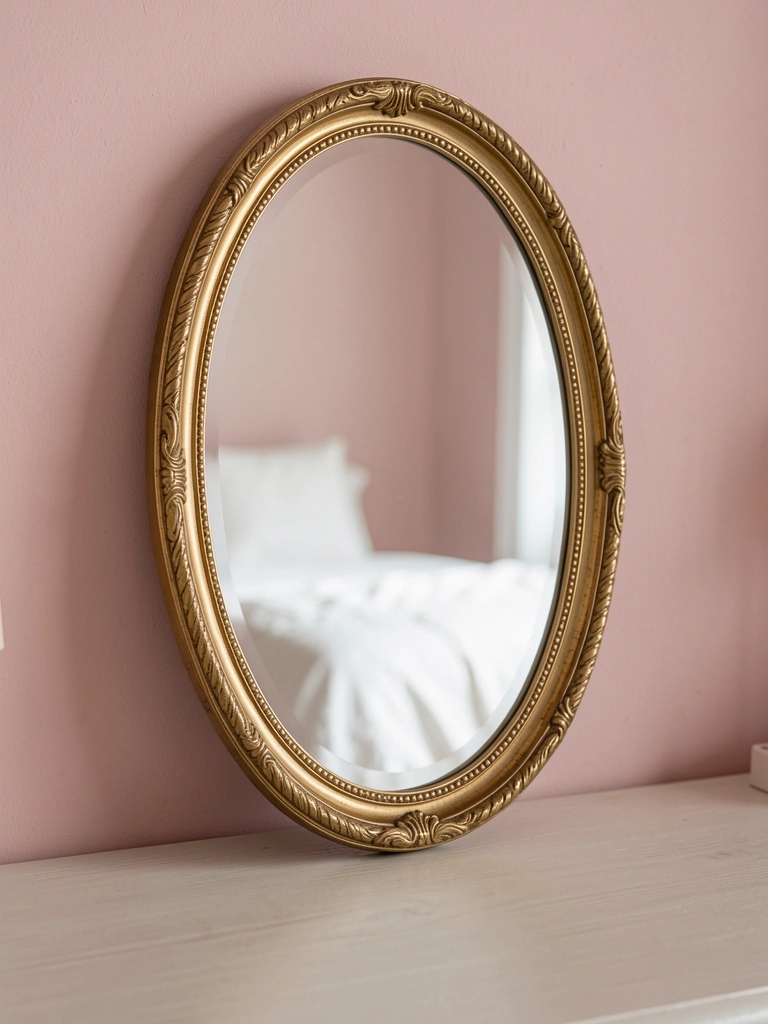
I lean the oval mirror at the back center. It pulls the eye up and reflects light across the room. The gold frame warms the wood table.
Now the vanity has height and a focal point. It doesn't float anymore. Most forget mirrors add depth—mine makes the corner feel bigger.
Avoid hanging it too high. Leaning keeps it personal, like it's yours.
I step back. The balance starts here.
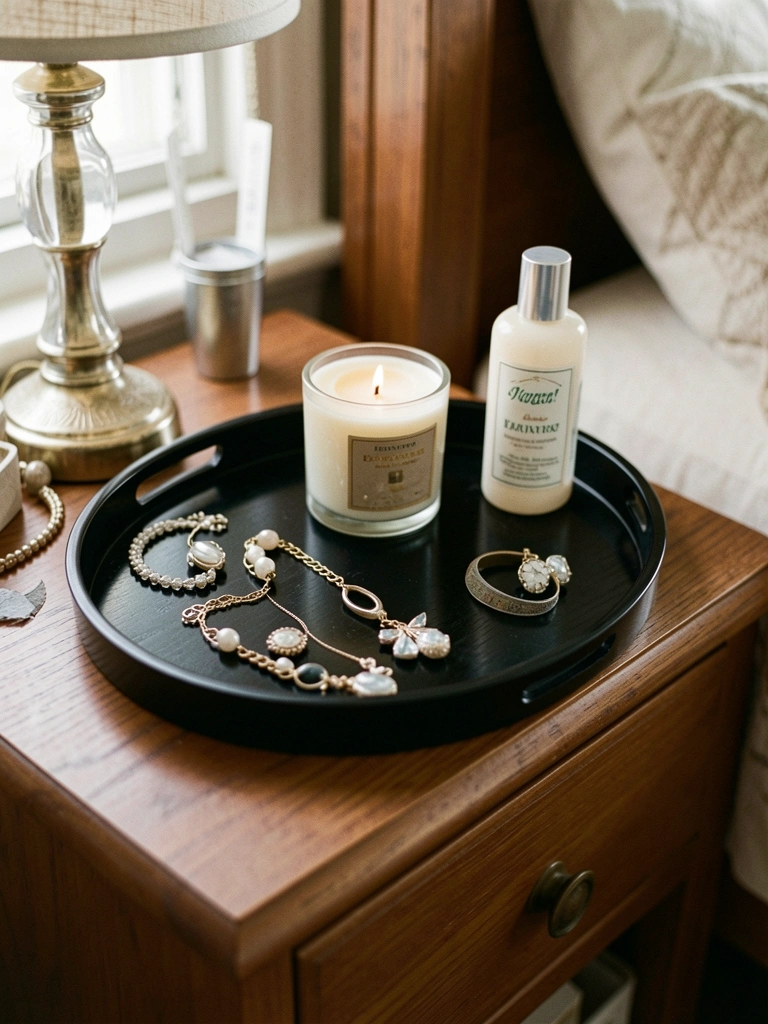
Step 3: Layer Trays for Function

I center the rattan tray for daily stuff like brushes. Off to one side, the ceramic tray holds perfumes on coasters. Groups feel tidy, not random.
The surface gains texture—smooth marble next to rough rattan. It invites touch. Folks overlook grouping by use; it stops visual noise.
Skip cramming everything in one tray. Space lets it breathe.
My hands reach easy now. It's practical.
Step 4: Add Height with Organizers and Lamp
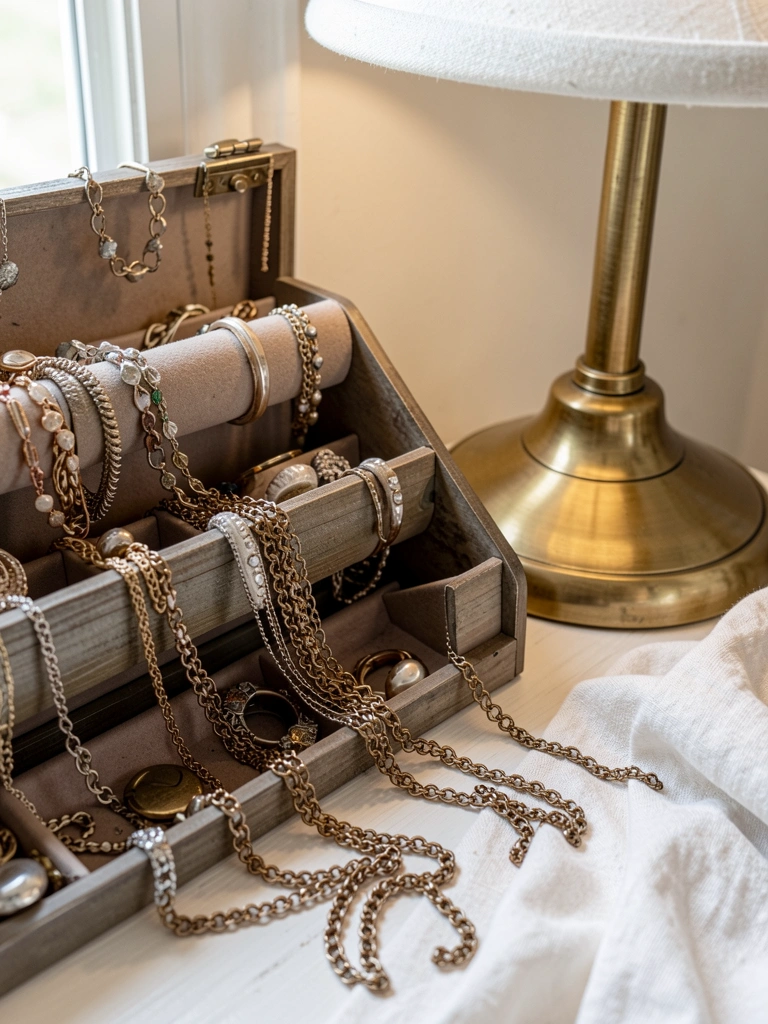
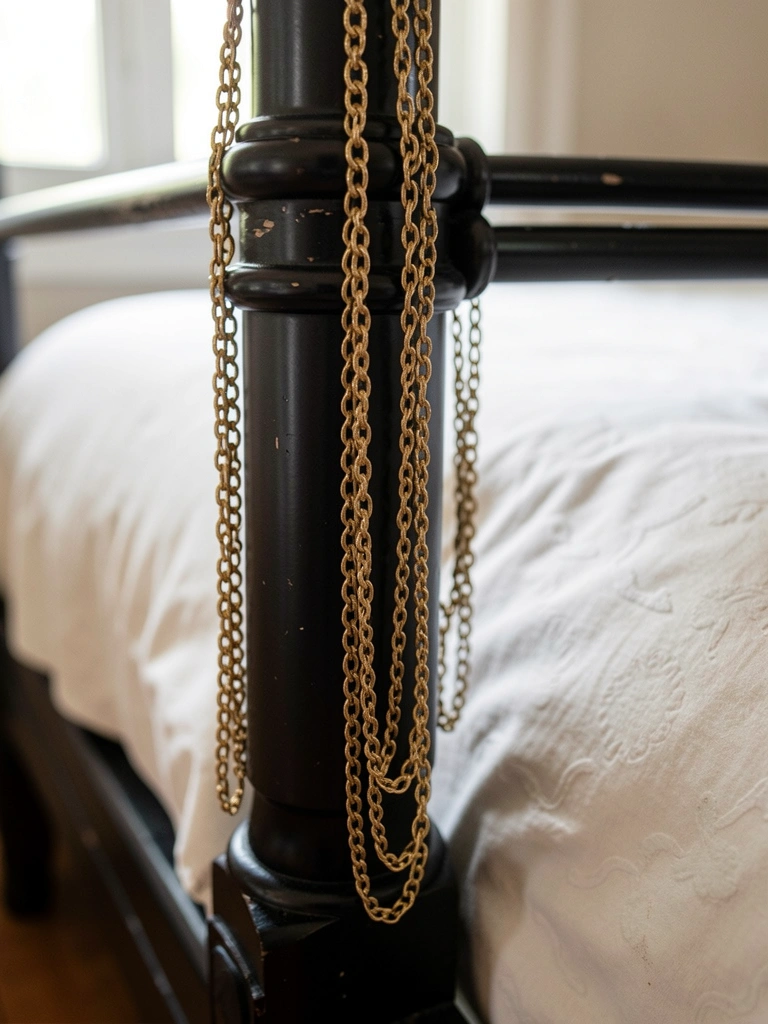
The jewelry organizer goes tall on one side, lamp on the other. I drape necklaces loosely. The lamp's glow settles evening light.
Heights balance—nothing top-heavy. The room feels even. People miss varying levels; flat surfaces bore the eye.
Don't plug in lamps yet. Test the glow first.
It pulls together without trying.
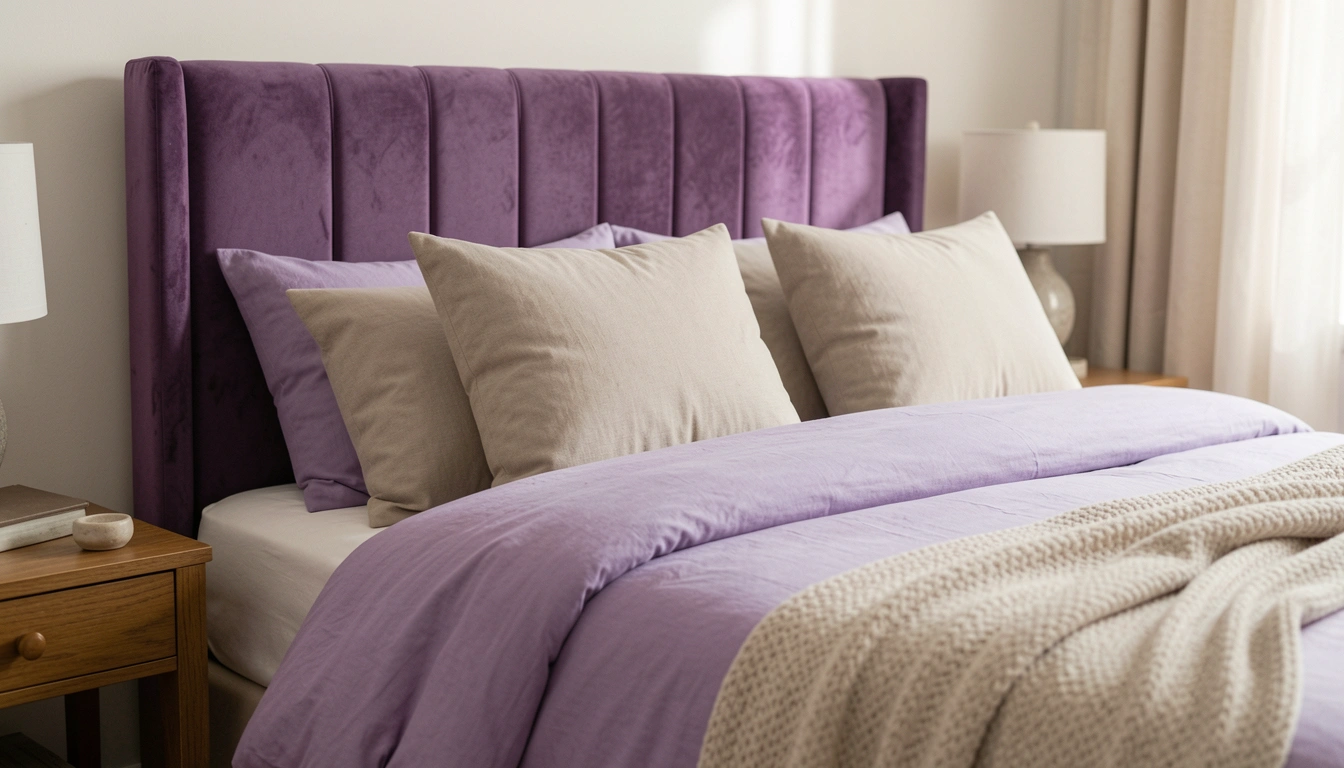
Step 5: Soften with Personal Touches
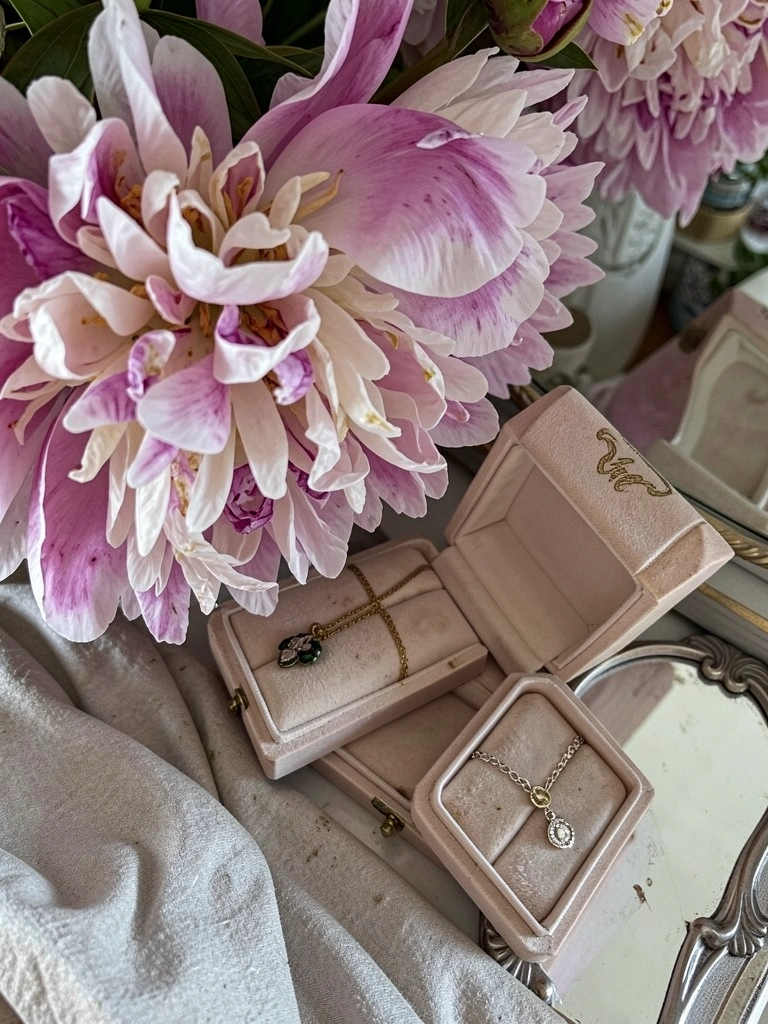
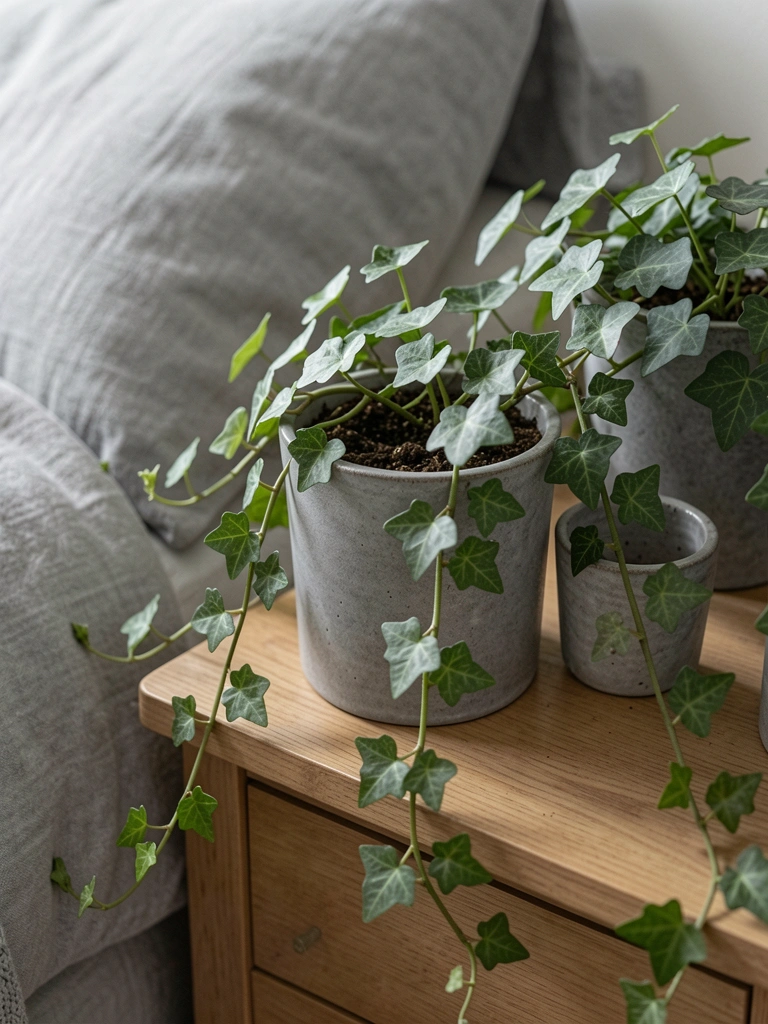
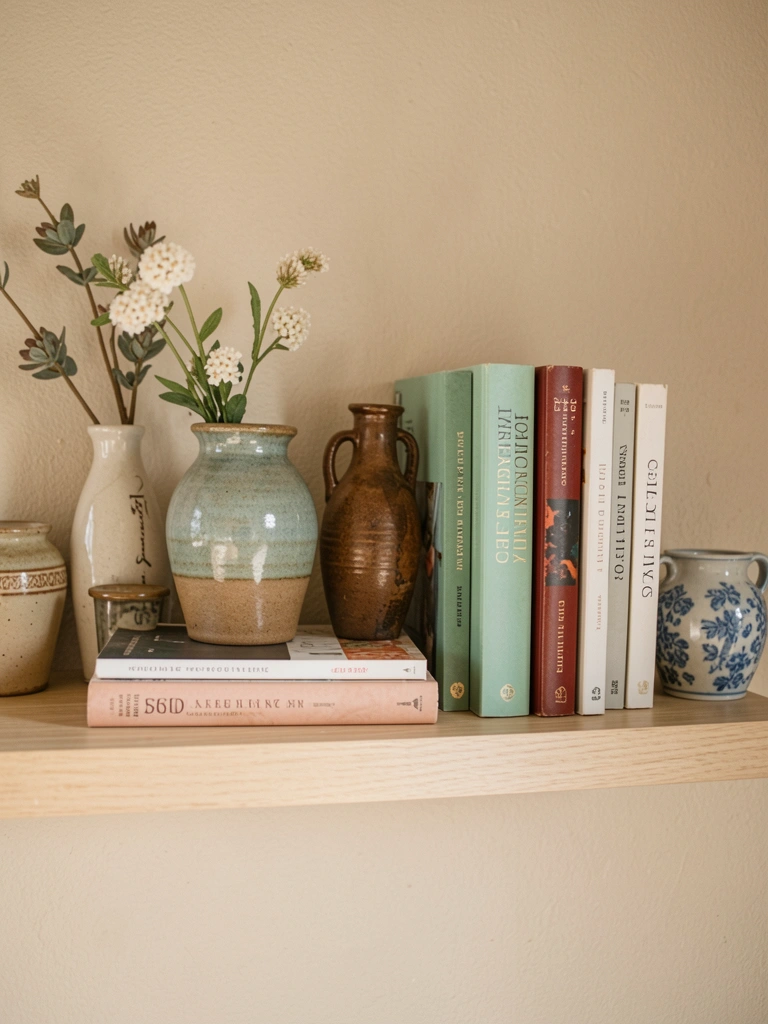
I tuck the peony vase next to the mirror. Jewelry box sits forward, a bit open. Fresh flowers and my rings make it mine.
Layers deepen—soft pinks against brass. The corner lives. Beginners forget personal items; they make it warm, not showroom.
Resist perfect symmetry. A slight off-center feels real.
Step back. It's done.
Step 6: Check the Balance and Adjust
I walk around the bed, sit down. Tweak the lamp if it's blocking mirror view. Everything settles into flow.
The whole bedroom connects now—vanity leads the eye gently. Most skip this walk-through; it catches uneven weight.
Don't add more. Full is overwhelming.
It's comfortable. Ready.
Common Mistakes I Learned the Hard Way
I tried styling without light first. It looked dull.
- Overfill trays—pick 3-4 items max per one.
- Ignore reflection—test what the mirror bounces back.
- Forget scale—tiny pieces get lost on big surfaces.
Now I check twice. Saves time.
Ways to Personalize for Your Style
Mine leans soft and girly. Yours can shift.
Go clean with black trays and minimal jewelry. Or wood tones for warmth.
- Add a candle for scent.
- Swap flowers for a photo frame.
- Use colored glass for perfume.
It stays yours.
Quick Refresh Ideas
Vanity gets dusty fast. I refresh monthly.
Wipe trays. Rearrange flowers.
- Swap seasonal blooms—tulips in spring.
- Rotate jewelry display.
- Dust mirror edge.
Keeps it fresh without overhaul.
Final Thoughts
Start with your mirror today. One piece changes the feel.
You'll use it more. The room settles.
It's just a corner made right. Yours will feel good too.